
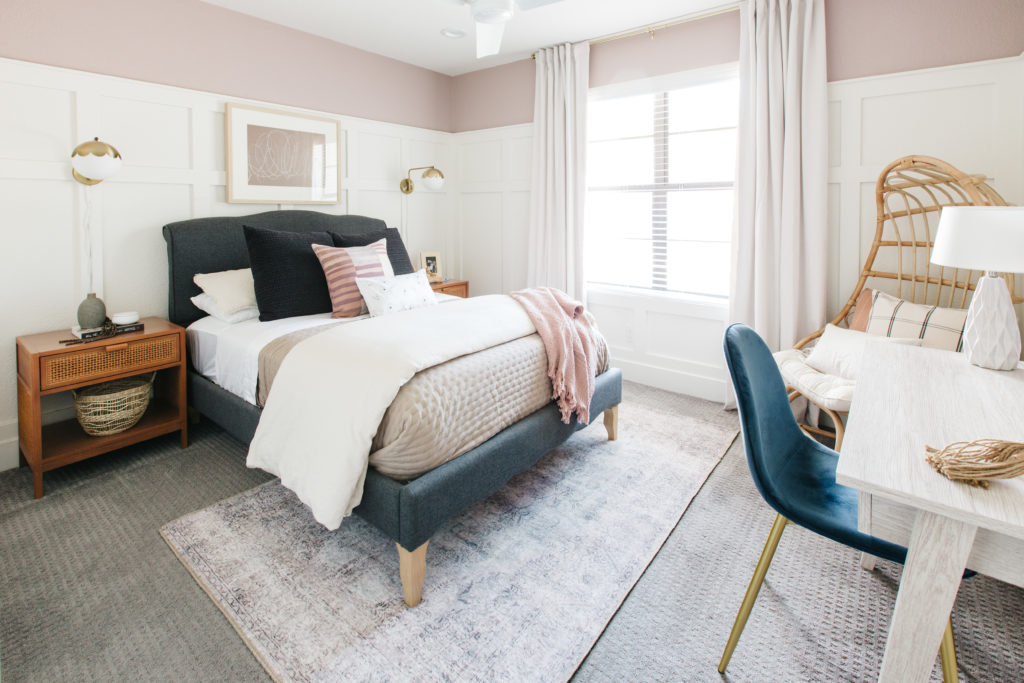
Well, you guys…I did it! I finally finished my girl’s bedroom makeoever for the Spring 2020 One Room Challenge in Partnership with Better Homes & Garden!! If you want to start from the beginning, you can start at Week 1 here!
If you remember from last week, we were really pushing it until the last minute to finish my daughter’s room. I started ordering items for her room pretty quickly, but life got busy and work got busy and it just felt easier to put it off until we couldn’t put it off any more. Plus, I had to wait for my daughter to get her room cleaned up to the point where we could start moving furniture out so that we could paint and move the new stuff in and that took a while. After all, she is 10! But once we got started, things really started to take shape.
Here is how our last few days have gone:
Thursday – We painted the wall above her molding a new color, brought in the new nightstands and rug, removed her current bed and built the new bed and made up her new bed with all new bedding.
Friday – I removed the painters tape and realized how terrible I am at painting. Those lines are not so good if you look closely or even if you don’t. Haha!! And I built her desk chair as well.
Saturday – I hung the new curtain panels and the sconces above her nightstands.
Sunday & Monday – Addison and I went shopping!! We got some really great accessories and decor to style her desk and nightstands.
Tuesday – I hung her art and put together her desk.
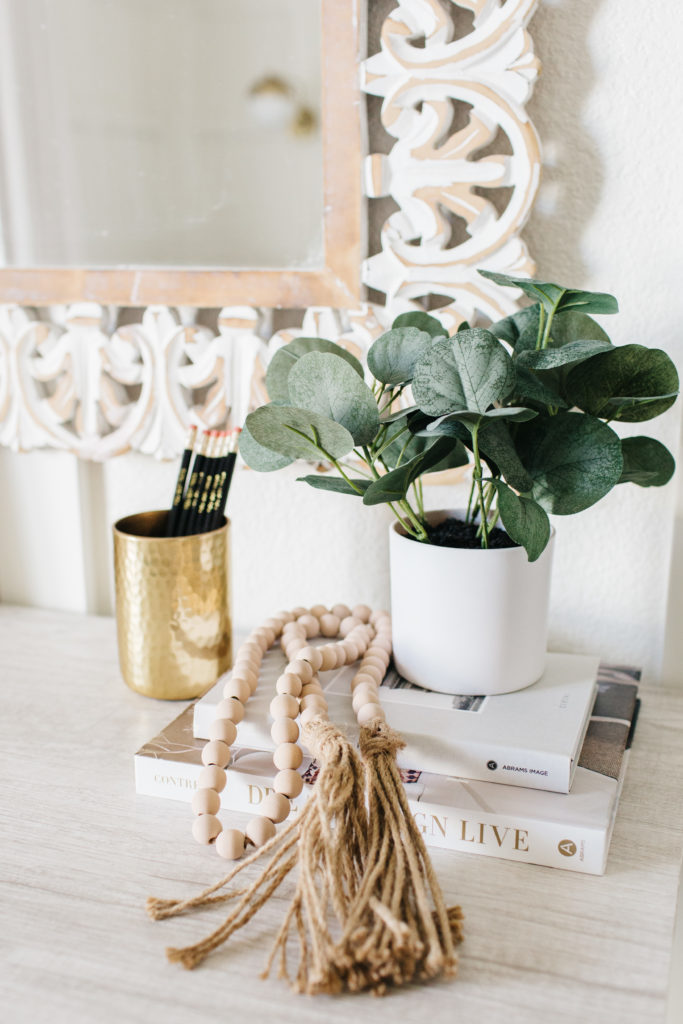
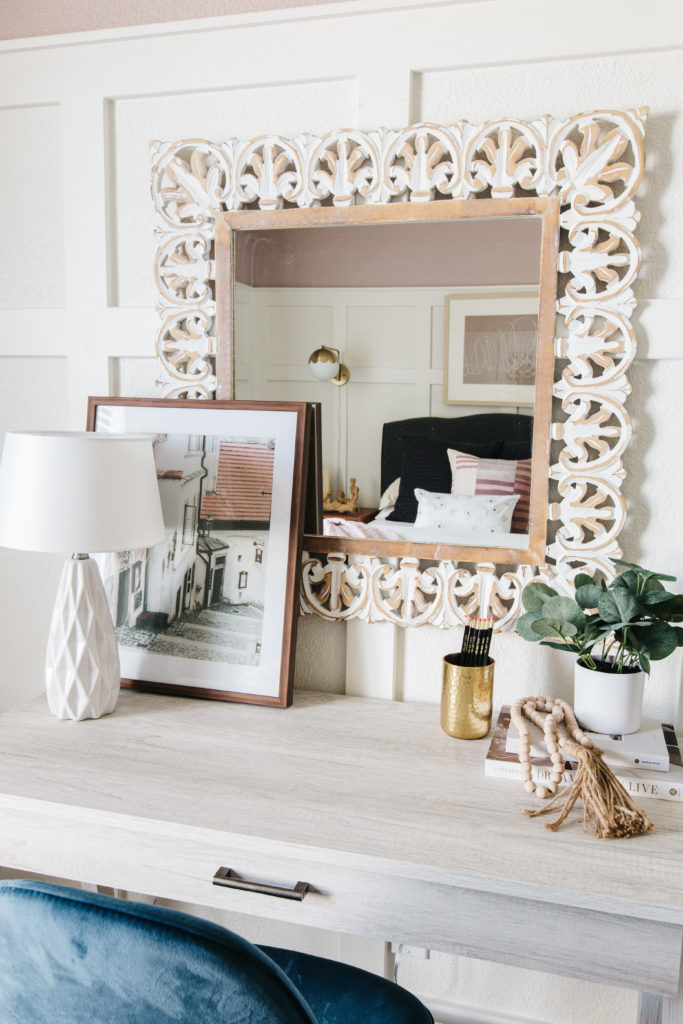
Today – I hung her mirror, styled her desk and bed and then photos were taken.
So, that was a bit of a whirlwind. But I love how it turned out and even better, Addison loves her new room. I can’t wait to share it with you and I thought it would be fun to show you a couple of before and after shots so you can see how far it’s come. This One Room Challenge was a lot of work, but totally worth it!!
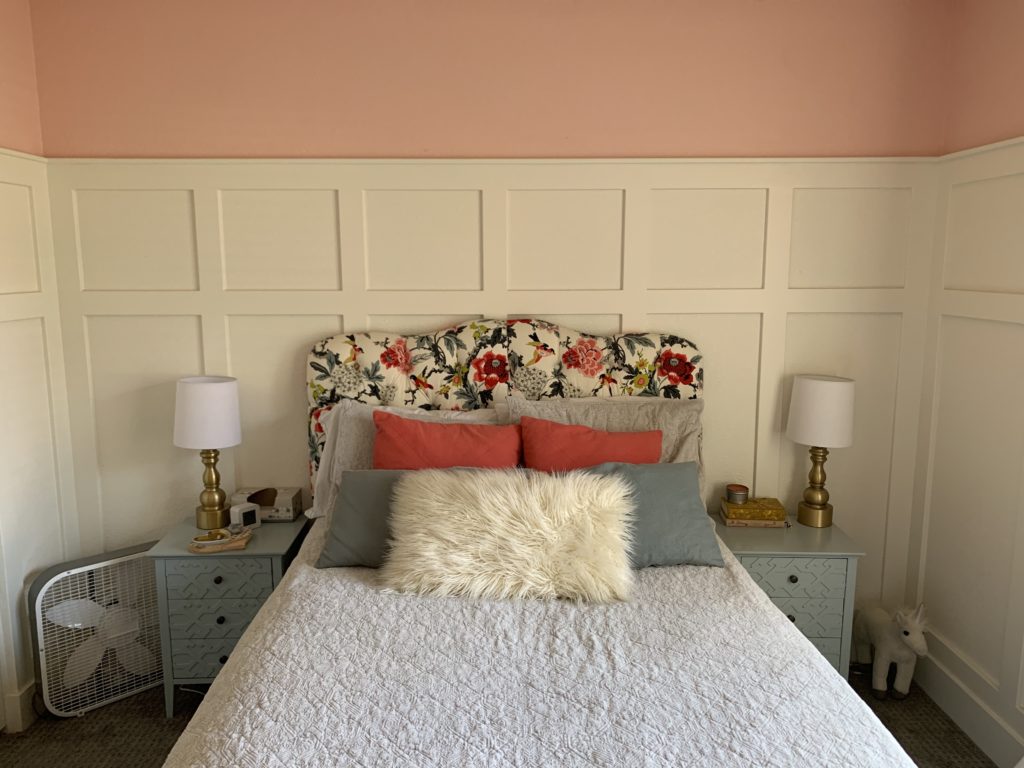
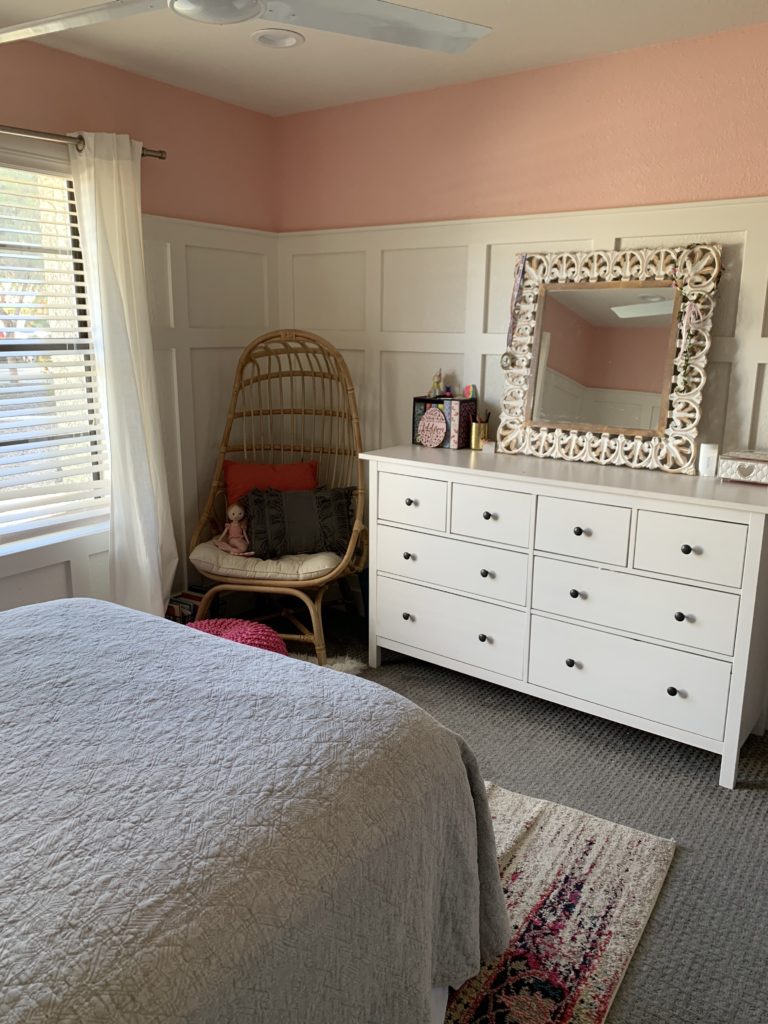
Before
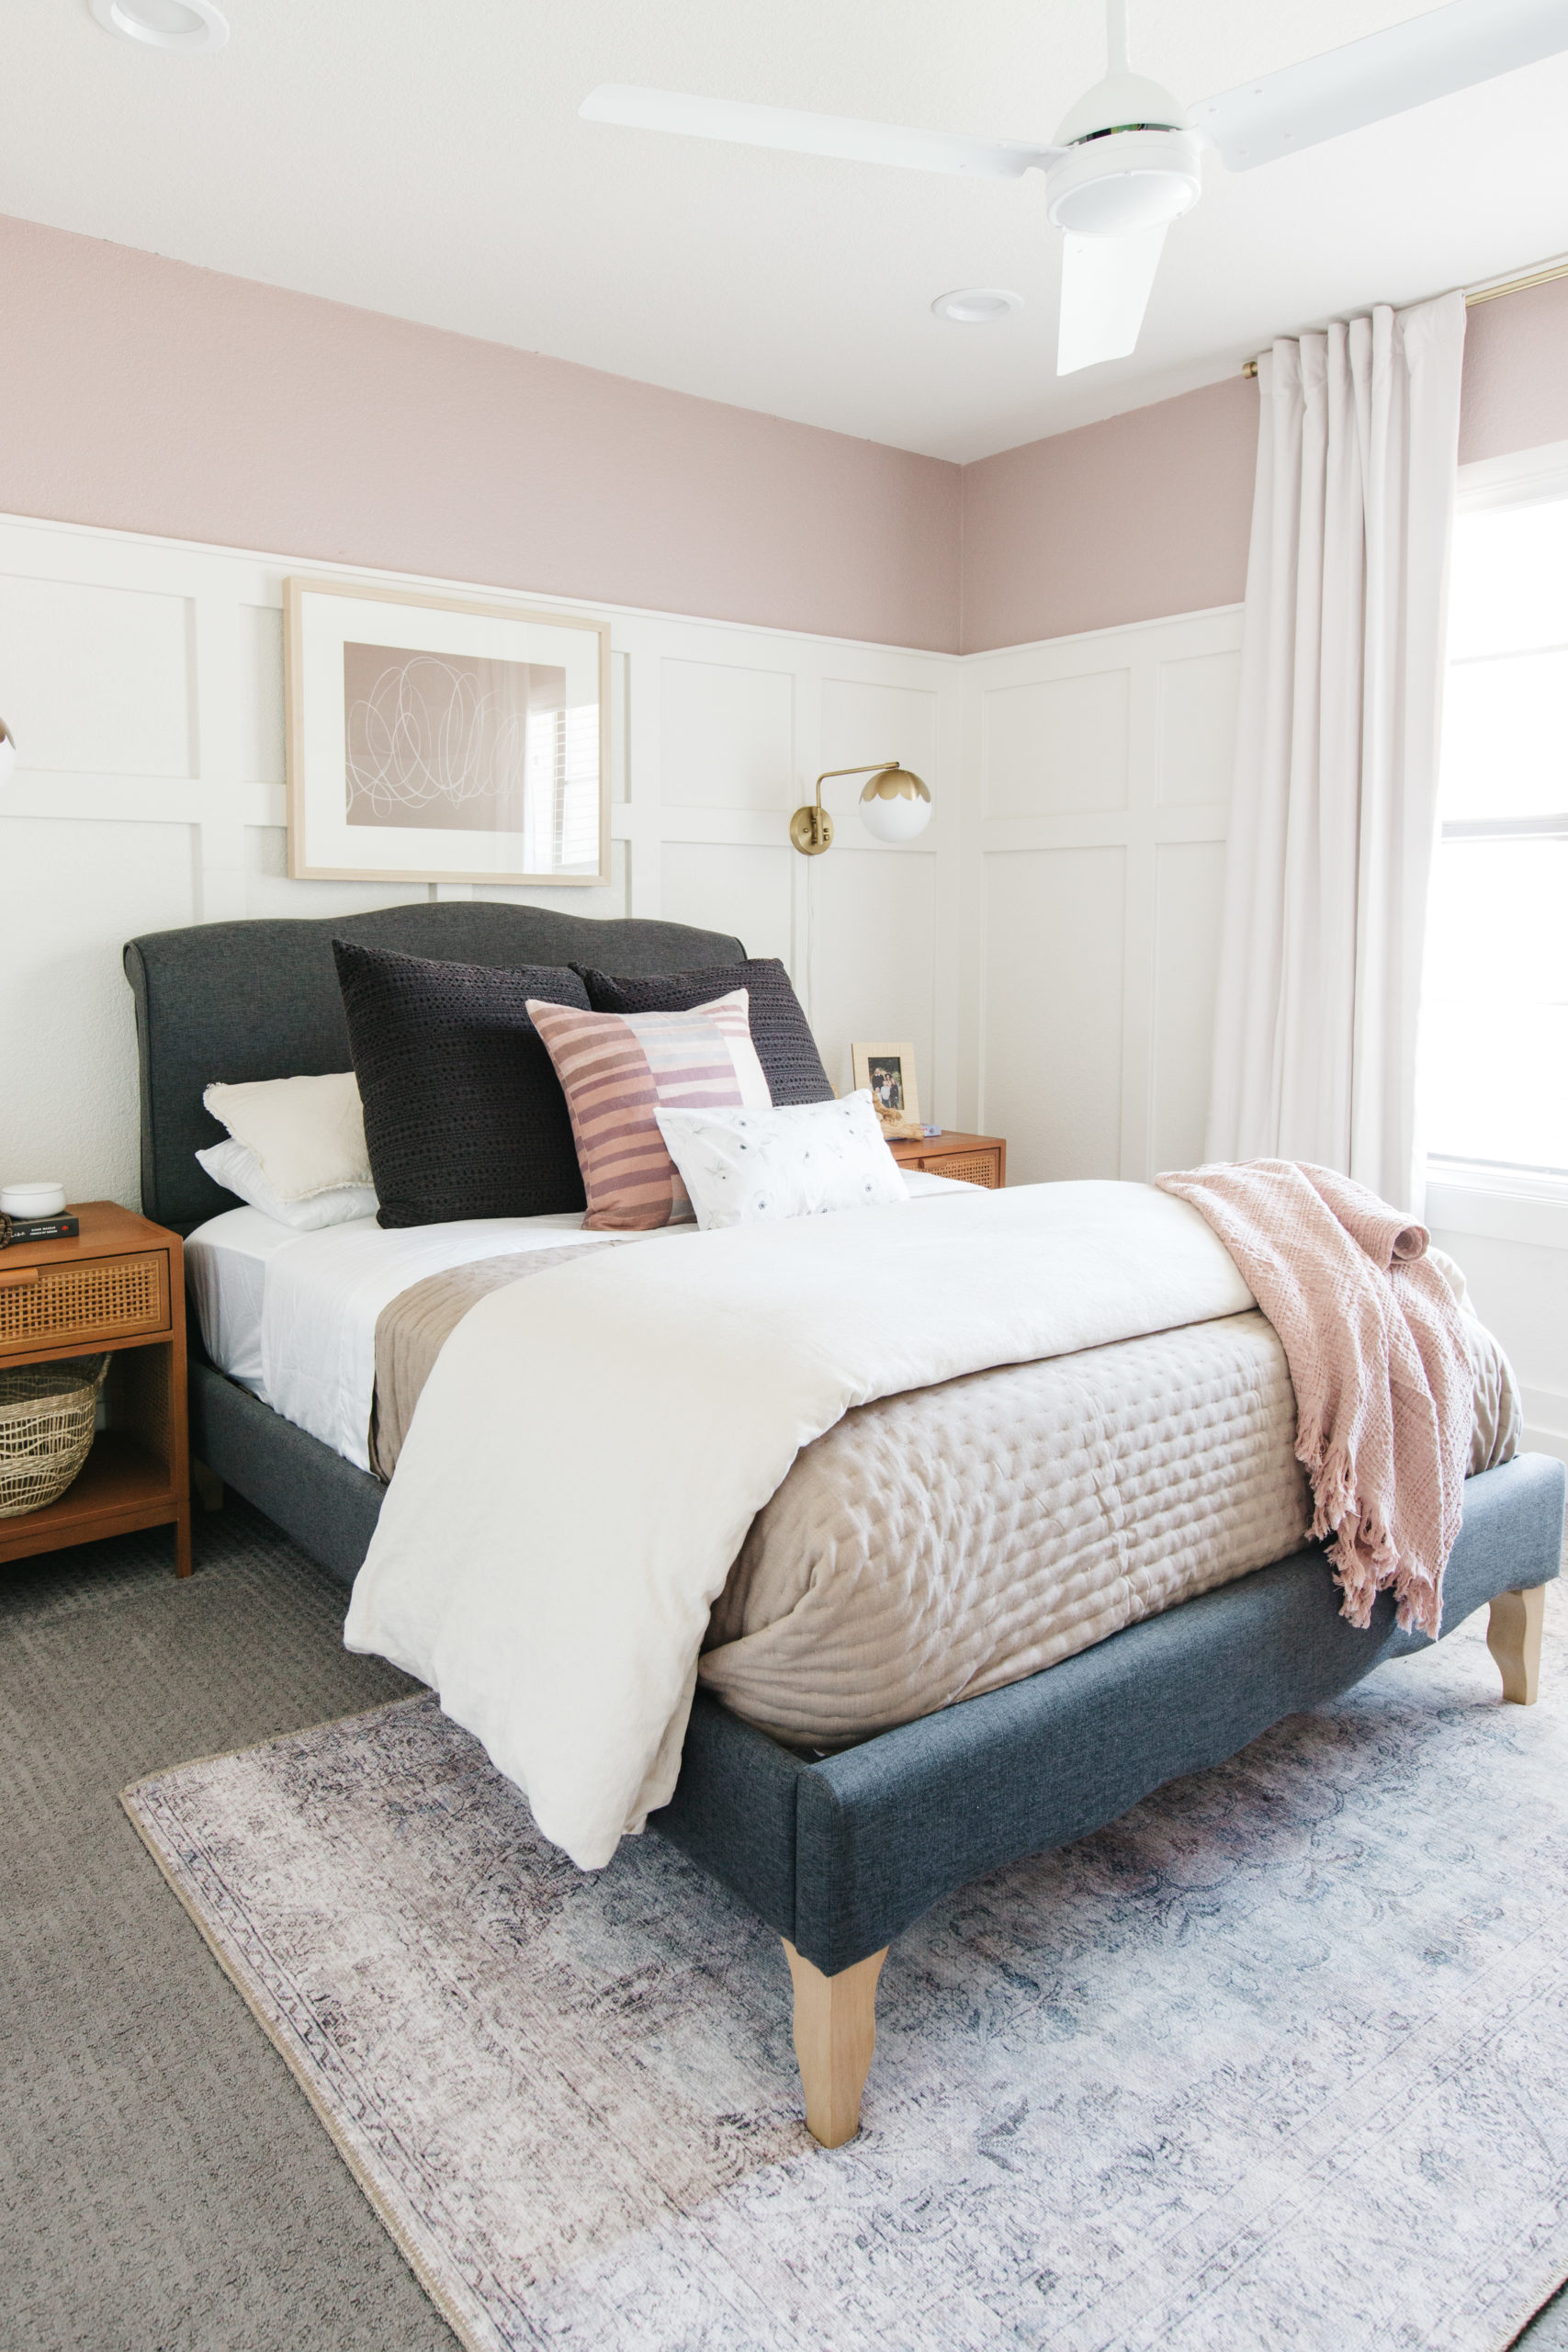
After
Before
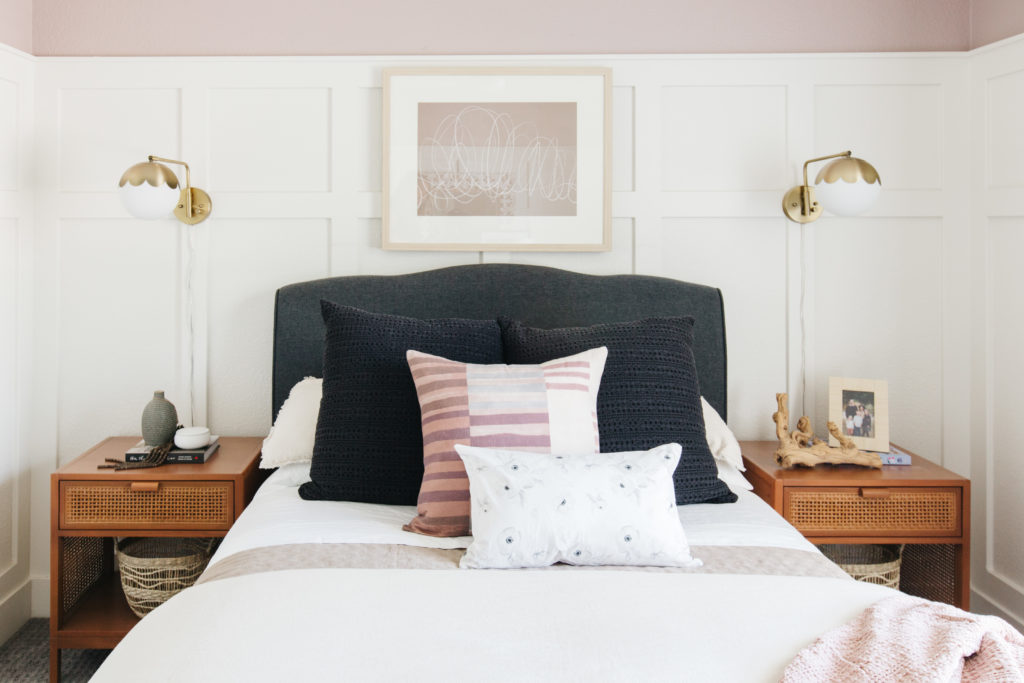
After
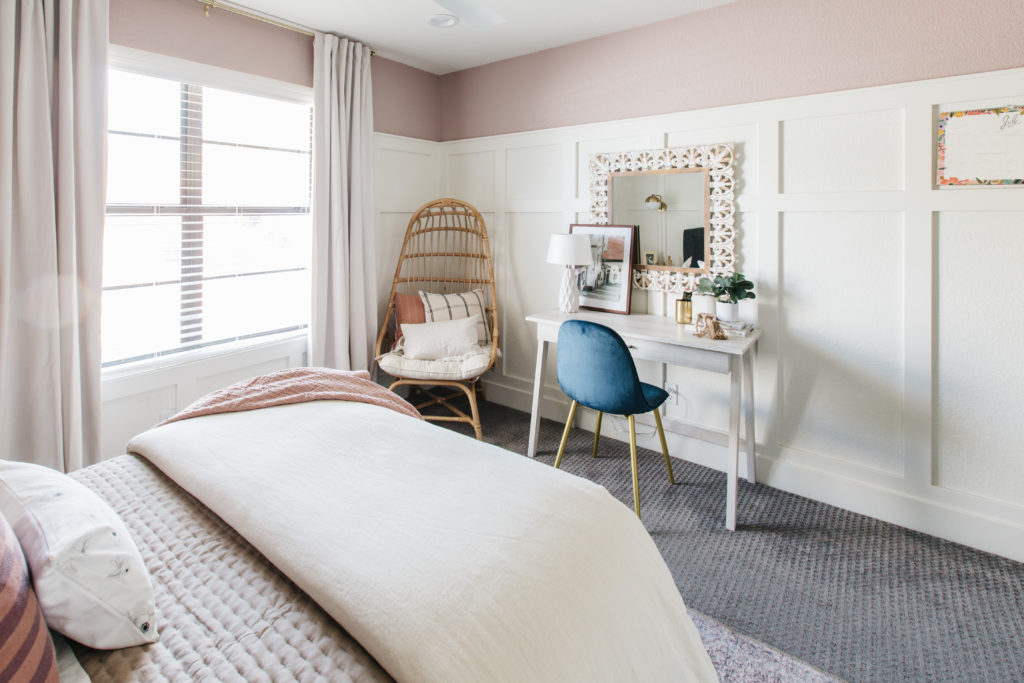
Quick refresh on what our plans were for her room and where we ended up with all of it.
-
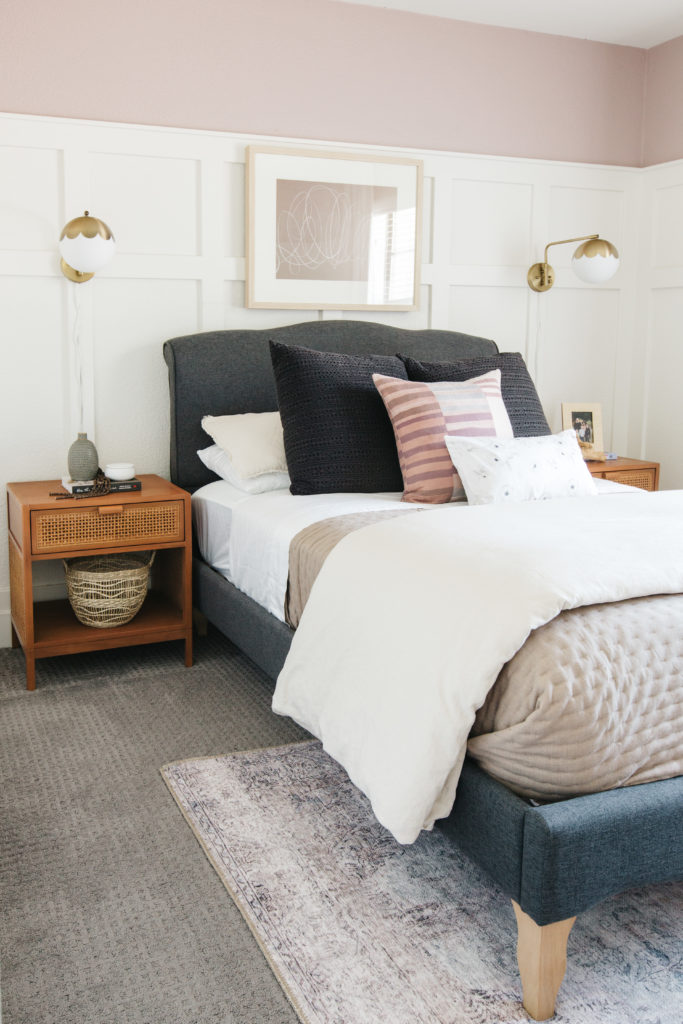
A brand new color palette. – Done & done!! The color I chose was Artistic Taupe by Sherwin Williams and it is a really pretty blushy taupe color. It reads a little more purple in her room than we had hoped, but it’s still a great color and much improved from the bubblegum pink that she had before.
-
Add more storage. – It’s a work in progress to be honest. We organized her room by cleaning and getting rid of a lot of stuff. But there will still need to be some sort of system put in place to keep everything looking the way it does now.
-
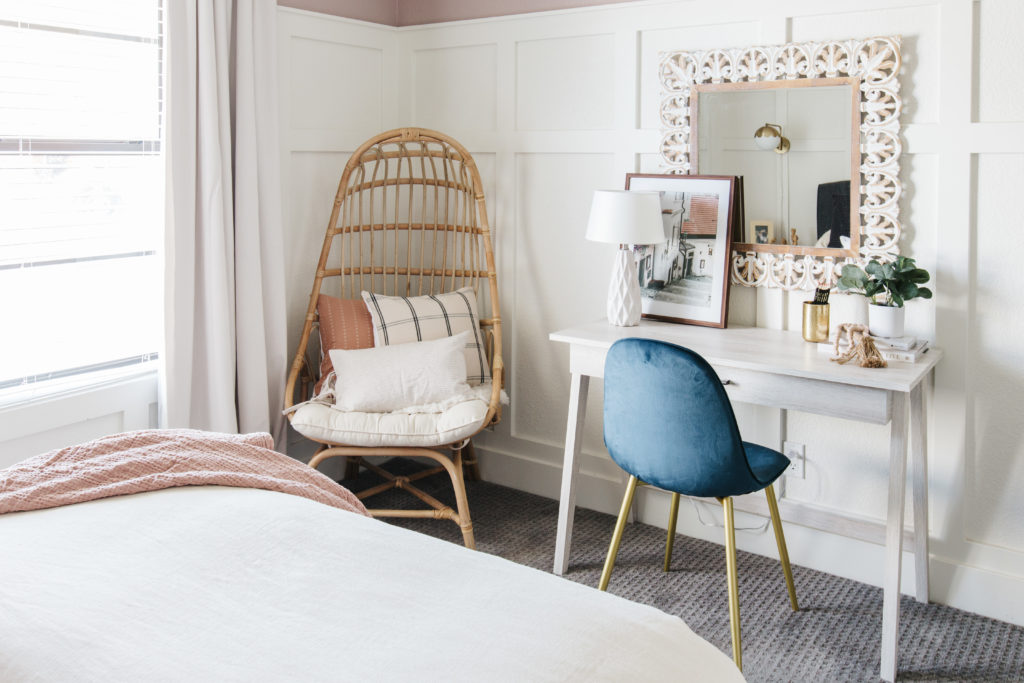
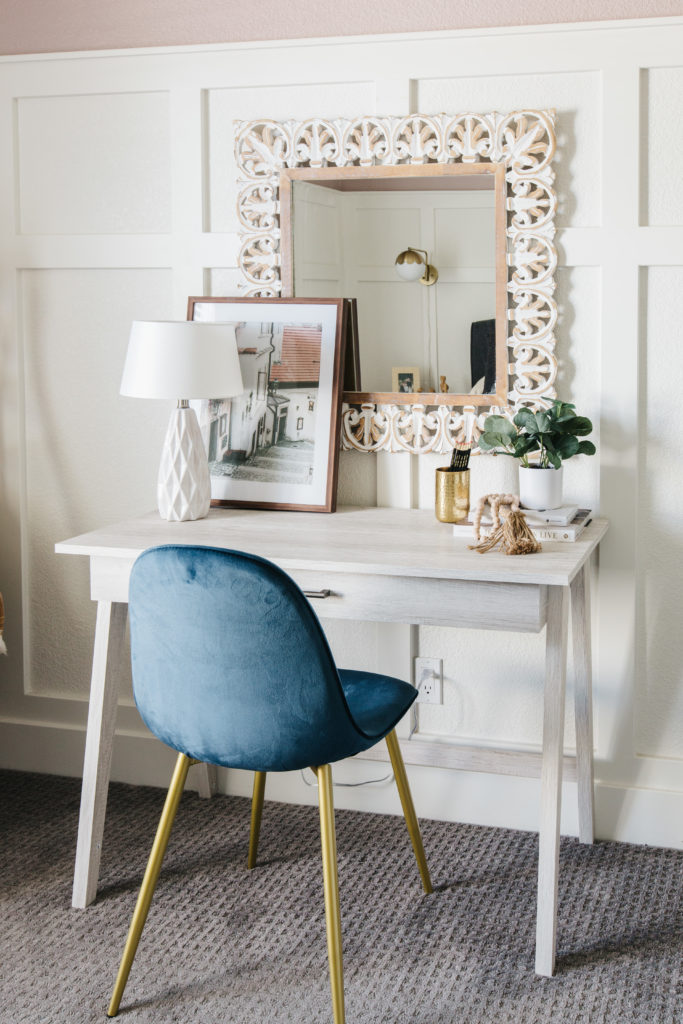
Add a desk. – Addison really wanted a desk in her room to do homework at, paint her nails at and get ready. The one we chose was a small writing desk. It’s a great size and it makes the room feel so much more open when you walk in.
-
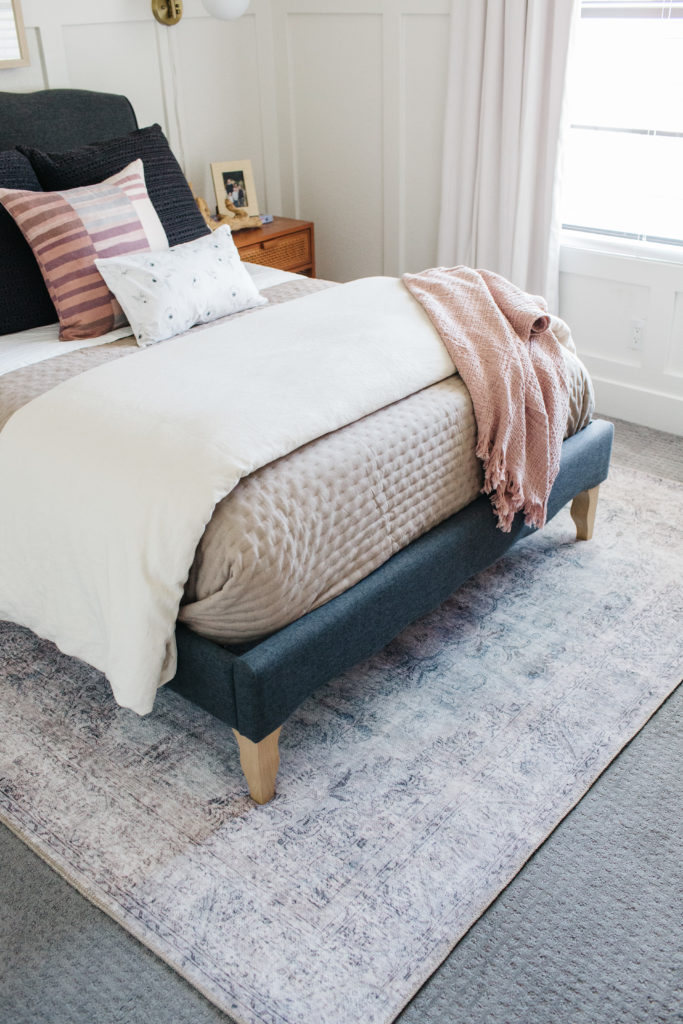
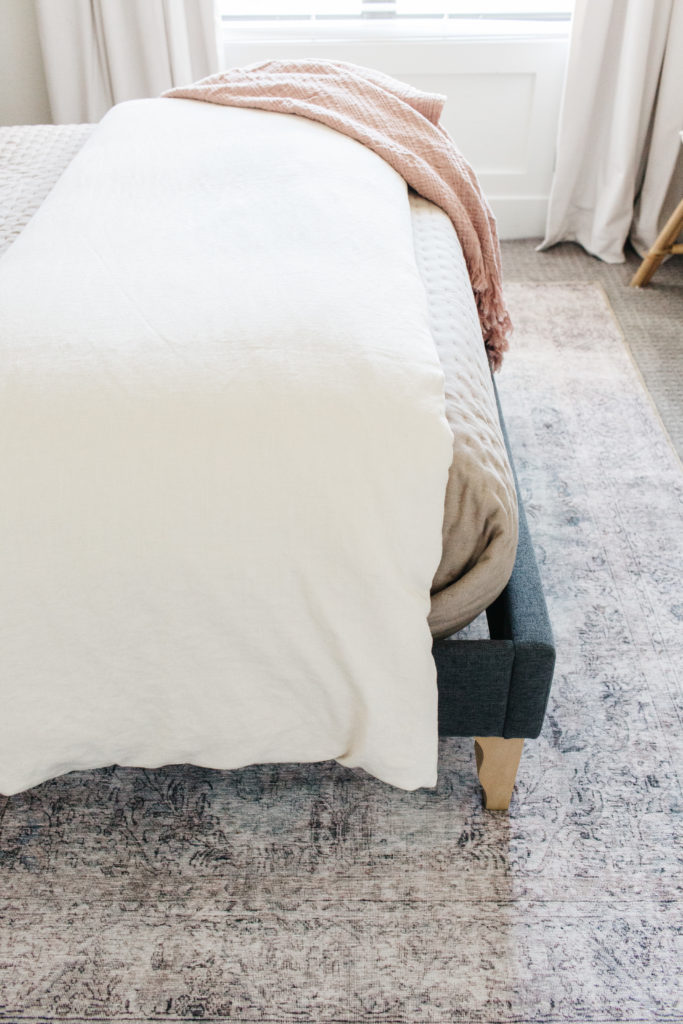
Get a new rug. – The rug is gorgeous. The colors are really soft and pretty and it ties everything together.
-
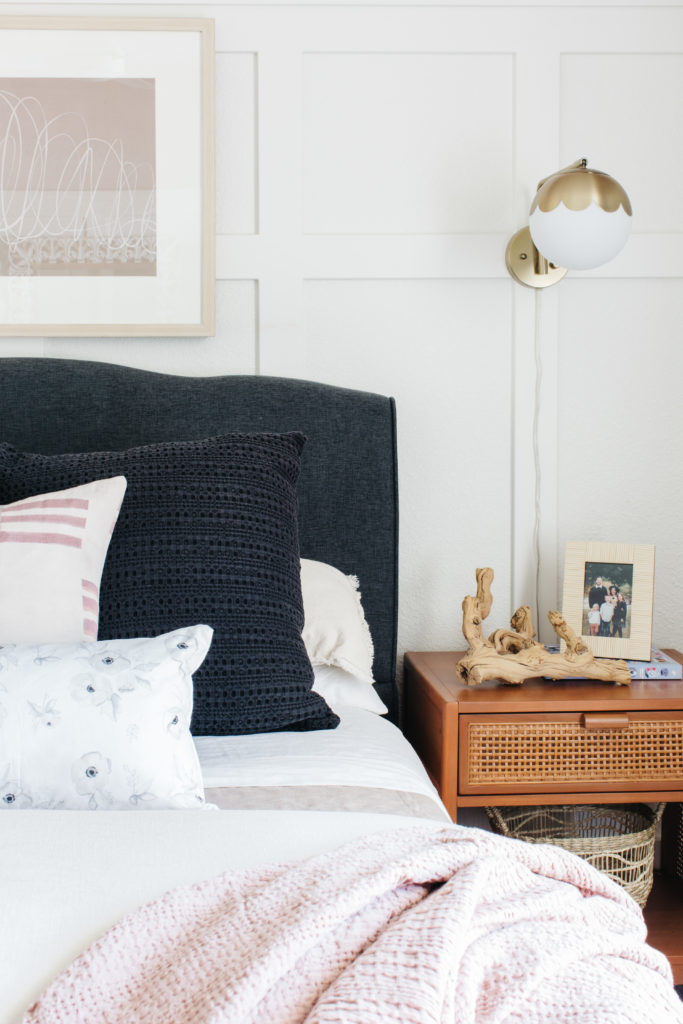
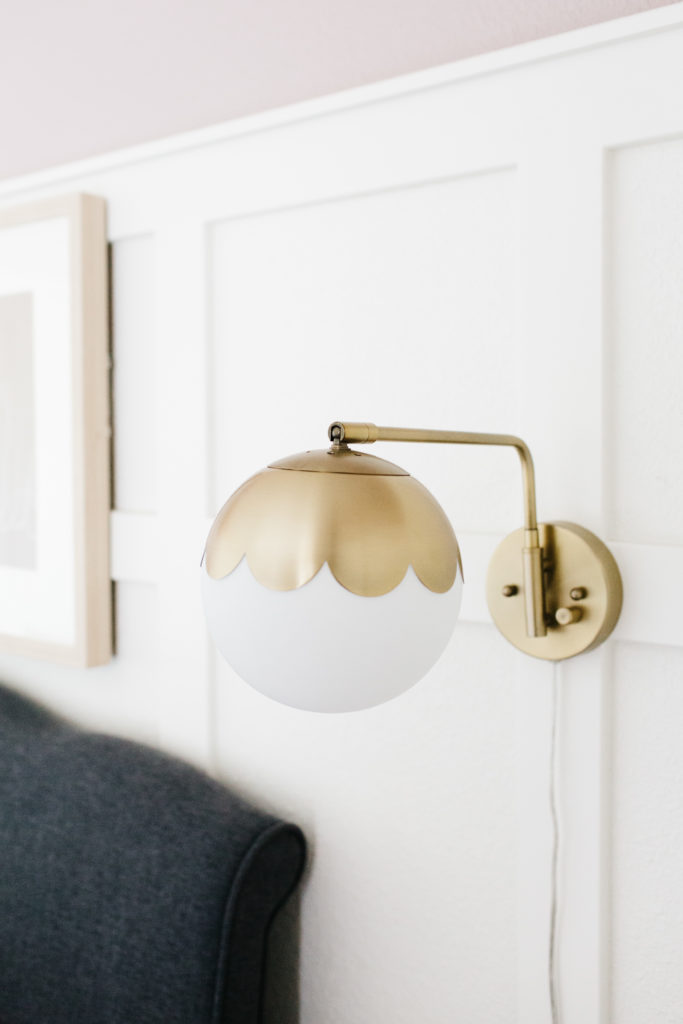
Switch out the lighting. – We replaced her lamps on her nightstands with plug-in sconces. They were pretty easy to install and I used white electrical tape to hold the cords flush to the wall.
-
Move her dresser into the closet. – So we did this with her current dresser and it’s WAY TOO BIG for her closet. She can open like 2 drawers total. So not a long term solution, but we are on the lookout for a chest that is about 30″ wide and 48″ tall. Wish me luck!
-
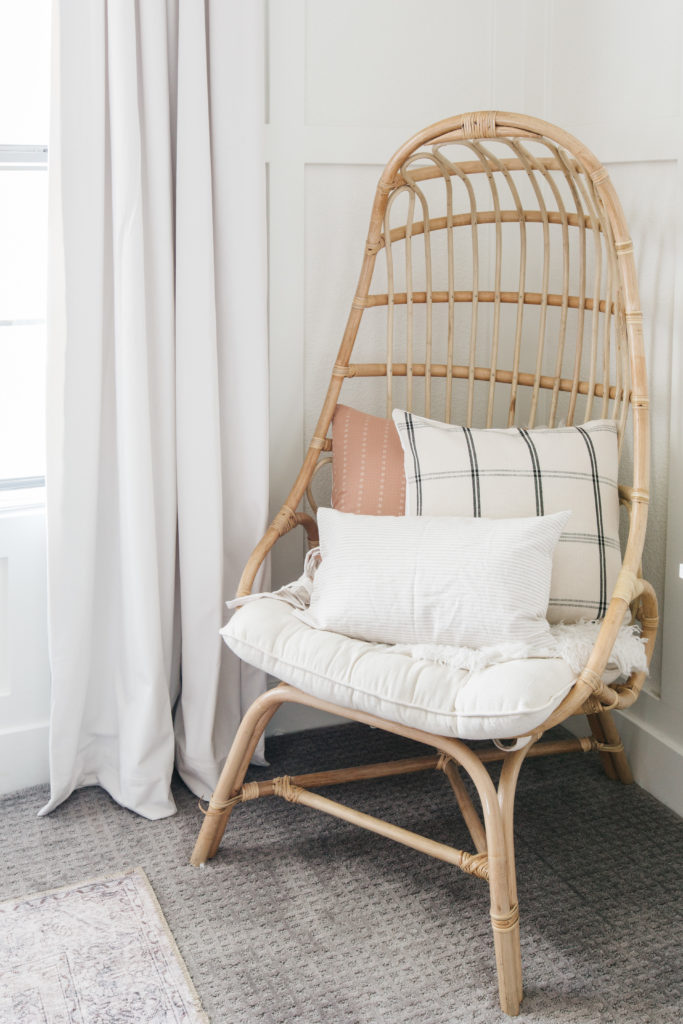
Hang the chair in the corner. – Ultimately, we decided not to do this. It came down to timing and the amount of work it would take to make it happen and it wasn’t something I wanted to take on. Plus, it looks really great and you can see it so much better now that the dresser is gone and the desk is there.
-
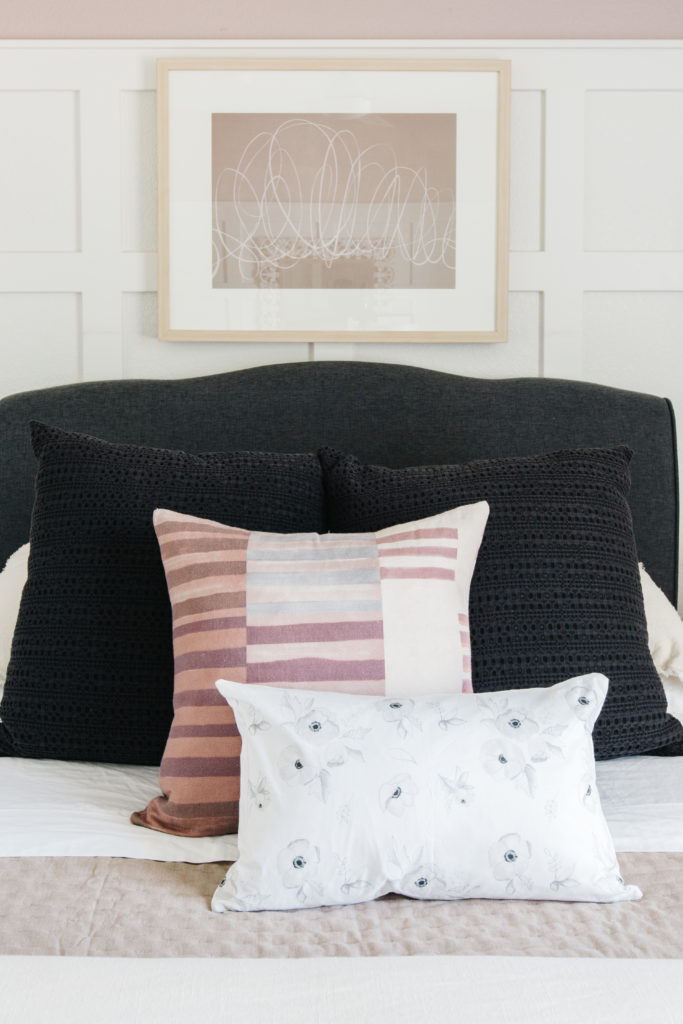
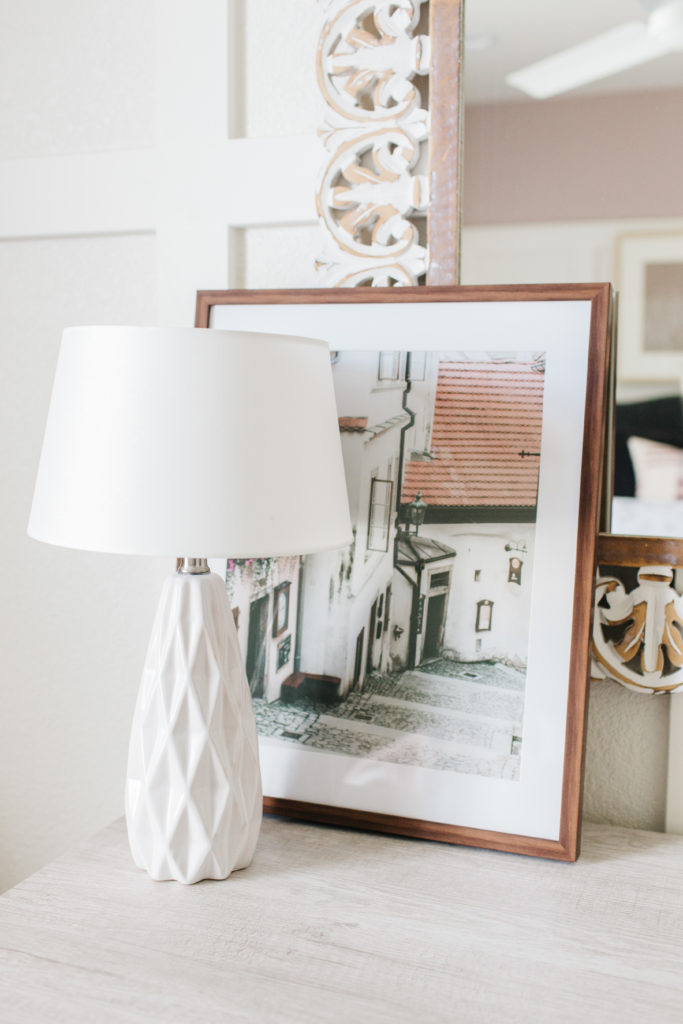
Add art. – I wasn’t sure that we were going to add art above her bed, but I am really glad we did. We found a piece that fits right above her and and below the molding and I love it!! Plus, for additional color we leaned an art piece on her dresser.
-
Replace the curtain panels. – This made such a huge difference. When we first moved it, I wanted to hang the curtain rod the the ceiling. But I couldn’t find 96″ panels readily available and apparently I did not have the patience to wait to order them. Once we swapped out the nickel rod for brass and raised it the ceiling, her ceilings felt SO much taller. The panels are blackout off white velvet and they are so good! They keep out all the morning sun and they have a really nice weight and texture to them.
-
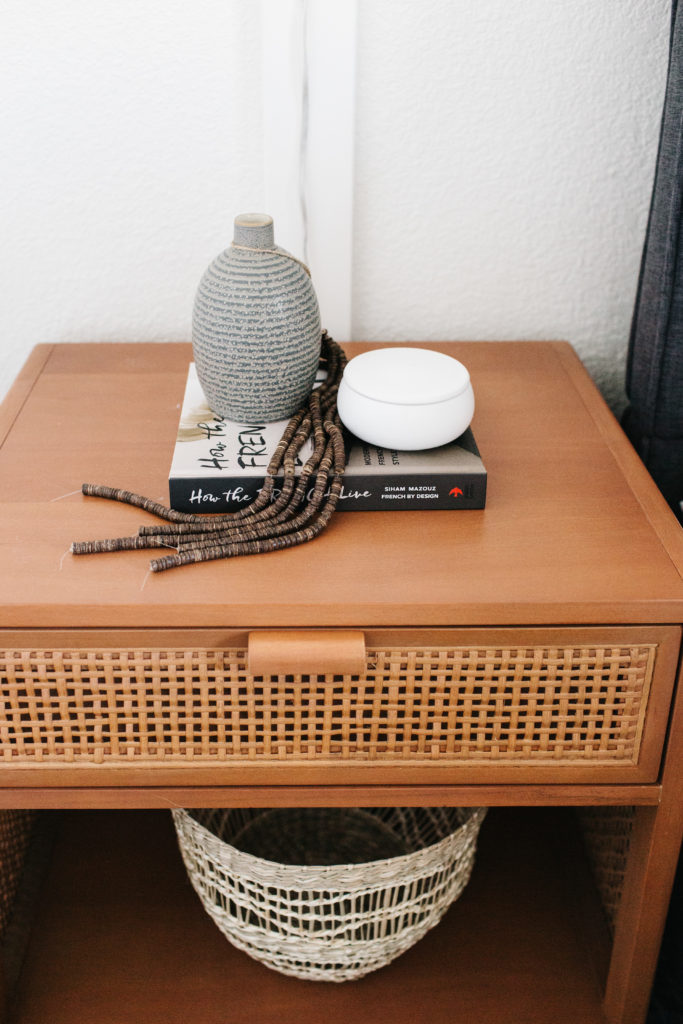
Add other new furniture. – We swapped out her bed and her nightstands and added the desk and chair. Her room feels older, but still soft and feminine.
Shop the room!

Thank you so much for following along with this girl’s bedroom makeover for Spring 2020 One Room Challenge! I hope you enjoyed it! If you did, you might like this post and this post for more before and afters and design inspiration!
previous post
next post
Let's be
friends!
Get exclusive design tips and blog updates sent to your inbox!

read comments or leave a comment...