blissful design studio
I'm brittany Krupnik!
I'm a real estate investor, designer and home stager. I have staged over 500 homes and designed over 250 homes. When I'm not designing, you can find me reading, traveling or trying out a new restaurant. I'm based in Tempe, Arizona where I live with my husband and 3 kiddos!
top posts
Project Reveal: See my home!
shop blissful
Home Decor
shop now
keep reading
Our Favorite Cookbooks
Girl's Bedroom Makeover
How to Host the Perfect Gathering
and then we weren't making any progress.
Well, if you remember from this post, we bought our cabin over 8 months ago, so you might be wondering why it’s taken us so long to get it remodeled. I mean, after all, remodeling homes is what we do for a living and we pretty much have our systems down. So what is the hold up?? Well, let me tell you what has been going on over the last few months and then it might make more sense.
We bought the cabin in August and we stayed there for a few weekends to escape the summer heat and makes some remodeling plans for the cabin. We knew that we wanted to remove the outdated paneling and replace it with drywall, add some additional lighting and add central air. Those items are easy, peasy and are our everyday normal fixes that don’t require us to pull permits…however, the same does not go for building out the deck and extending the roofline and that is where we got held up. One day while our crew was there working a passerby decided he was bored and decided to ask our guys there if we had a permit pulled for the deck and then proceeded to report us. And that, my friends, is how you get red tagged. Which is literally death to any remodeling project because work has to stop everywhere when that happens. So our cabin has been sitting there since January untouched and unworked on while we go through the process of getting site plans, house plans, deck plans, etc all done and approved by the county. I am happy to report that everything has been submitted and we should be able to resume work in the next week or two!
So, what have we gotten done over there? Well, let me tell you…and show you!
The exterior
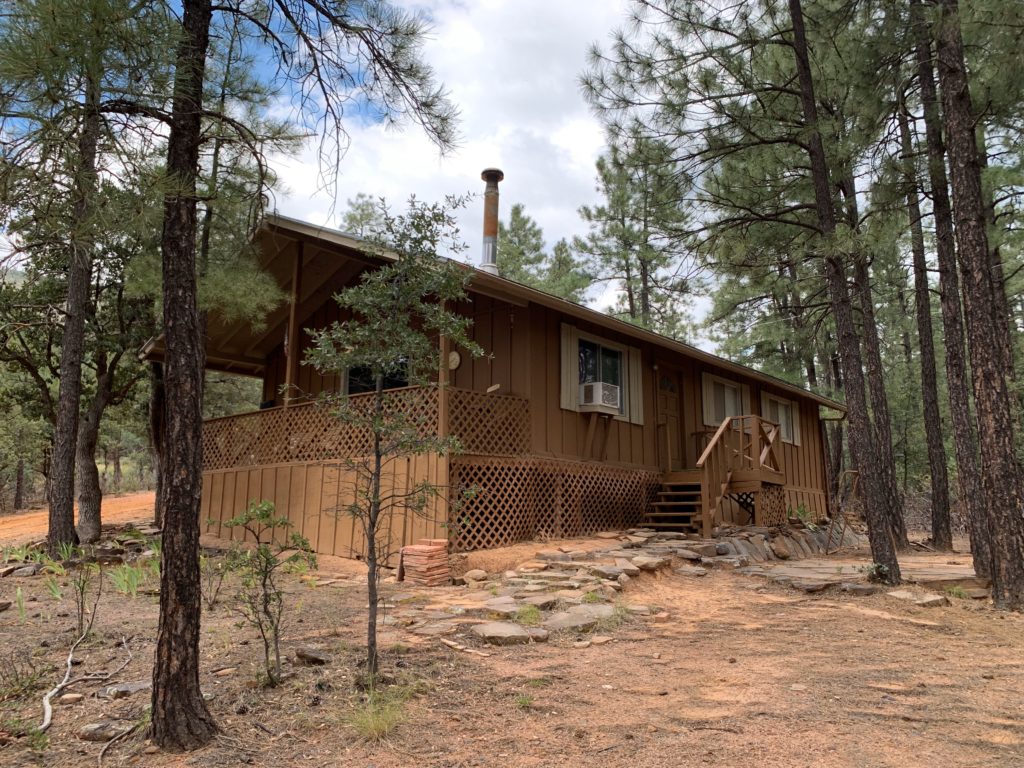
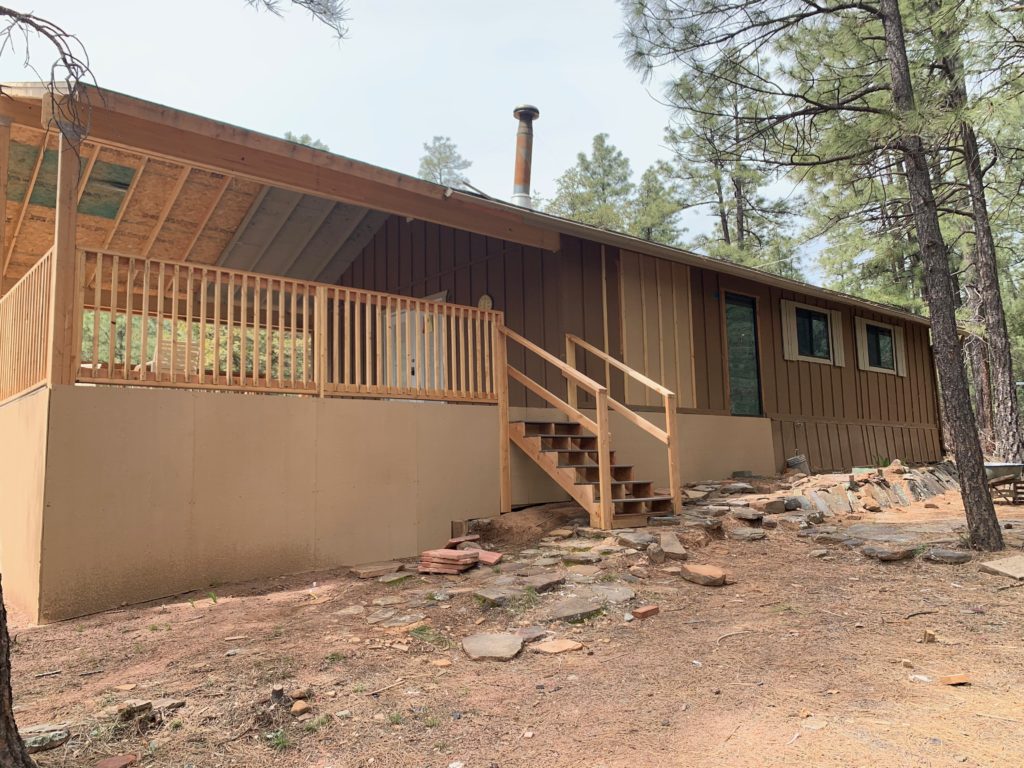
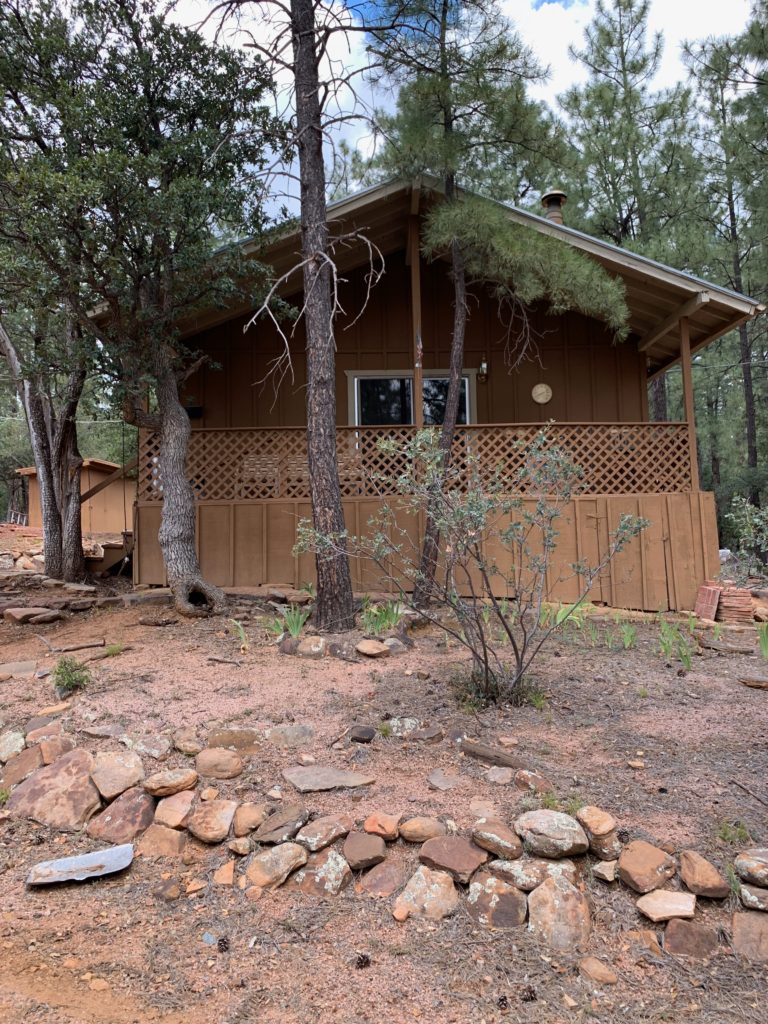
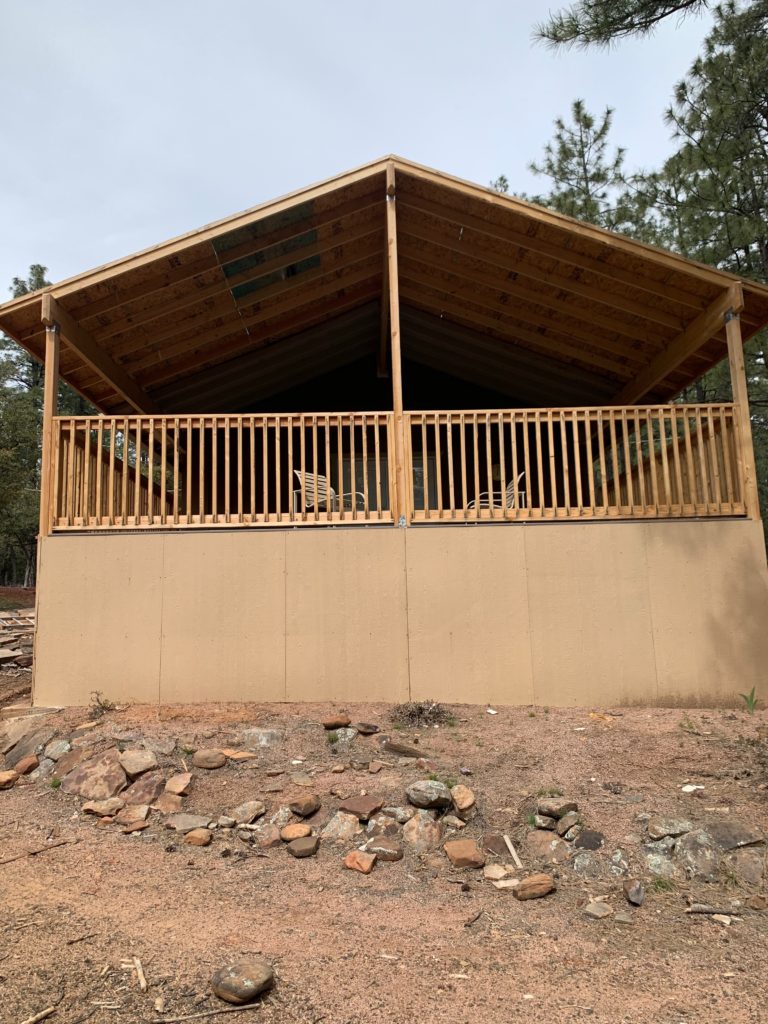
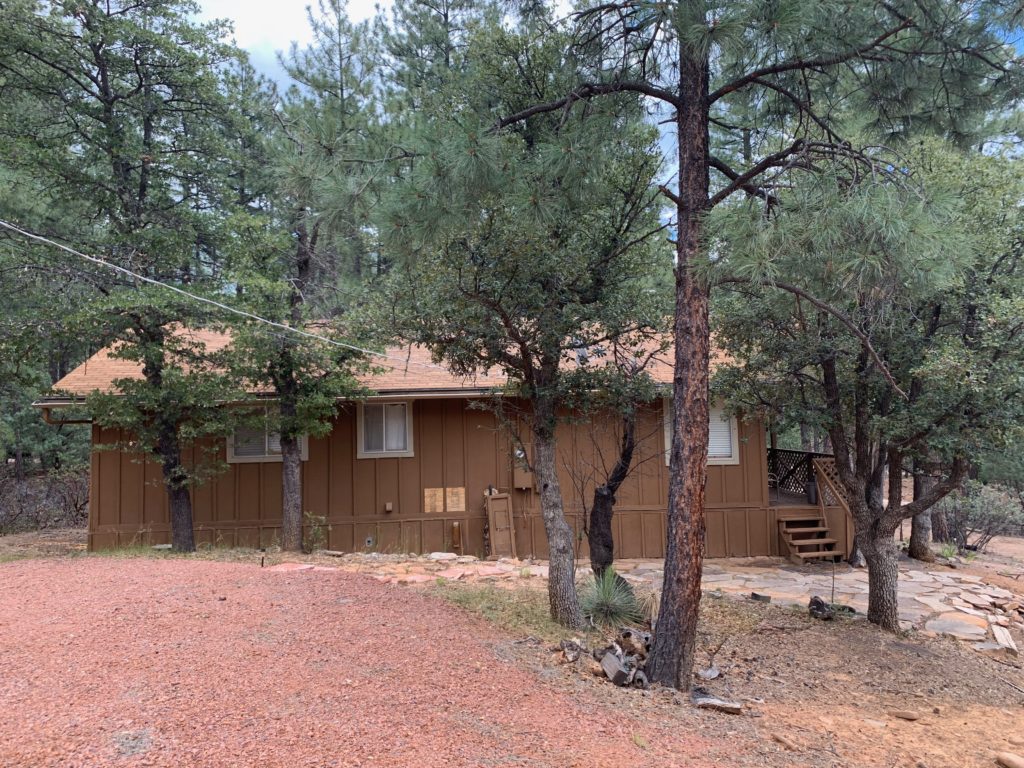
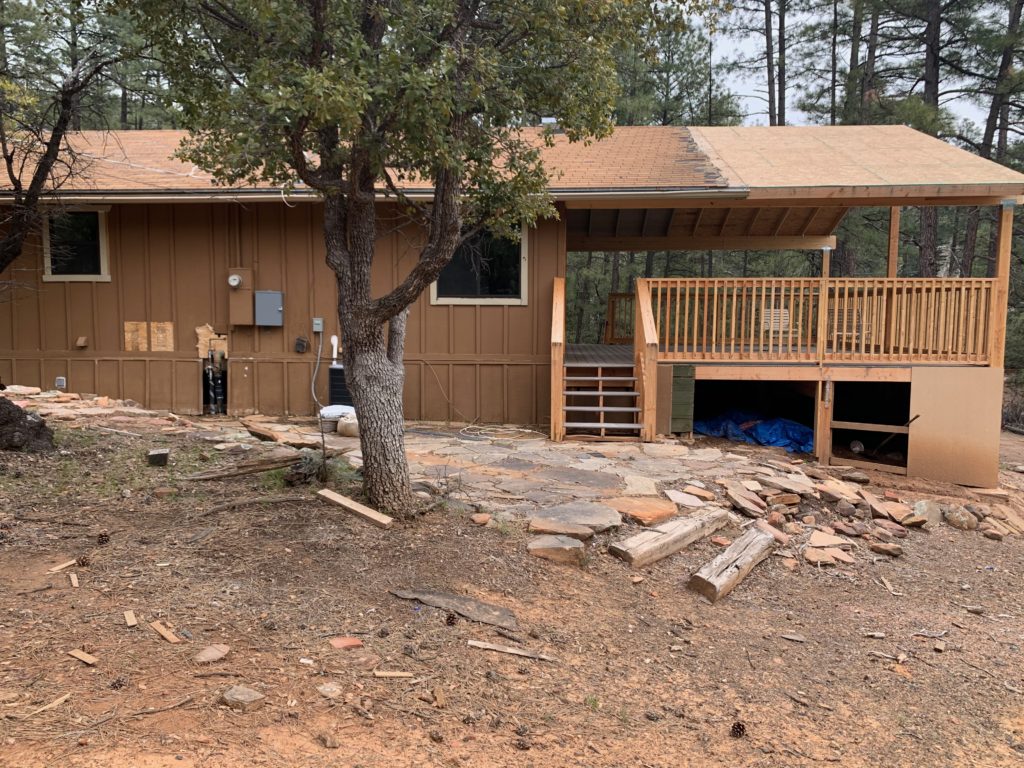
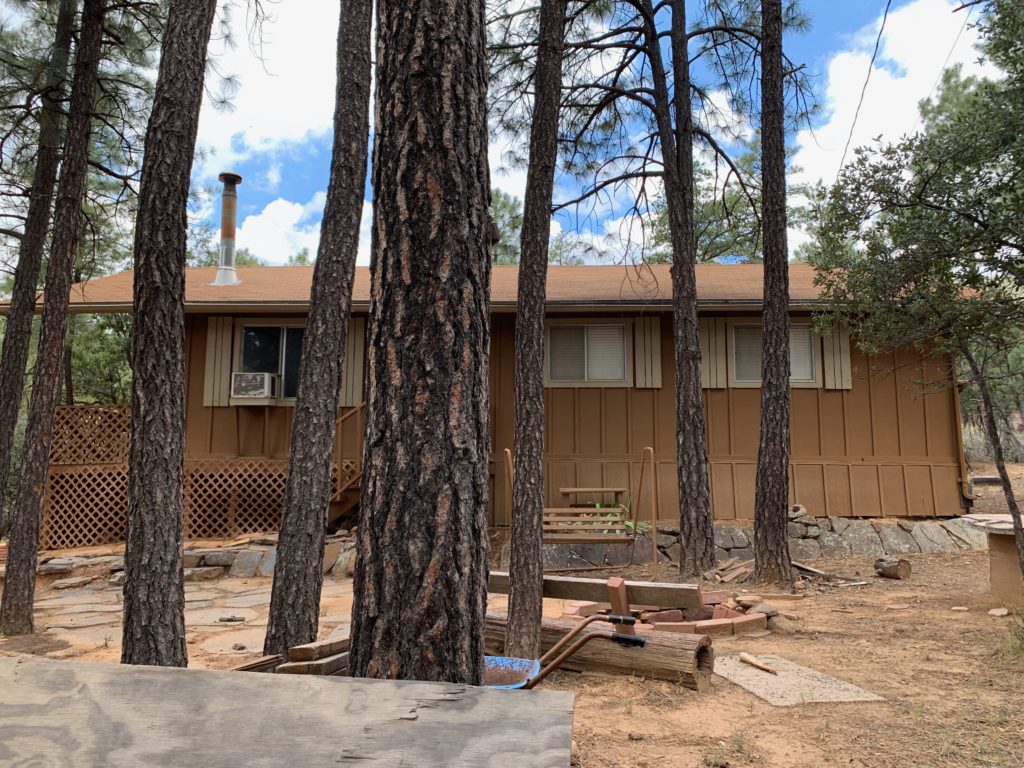
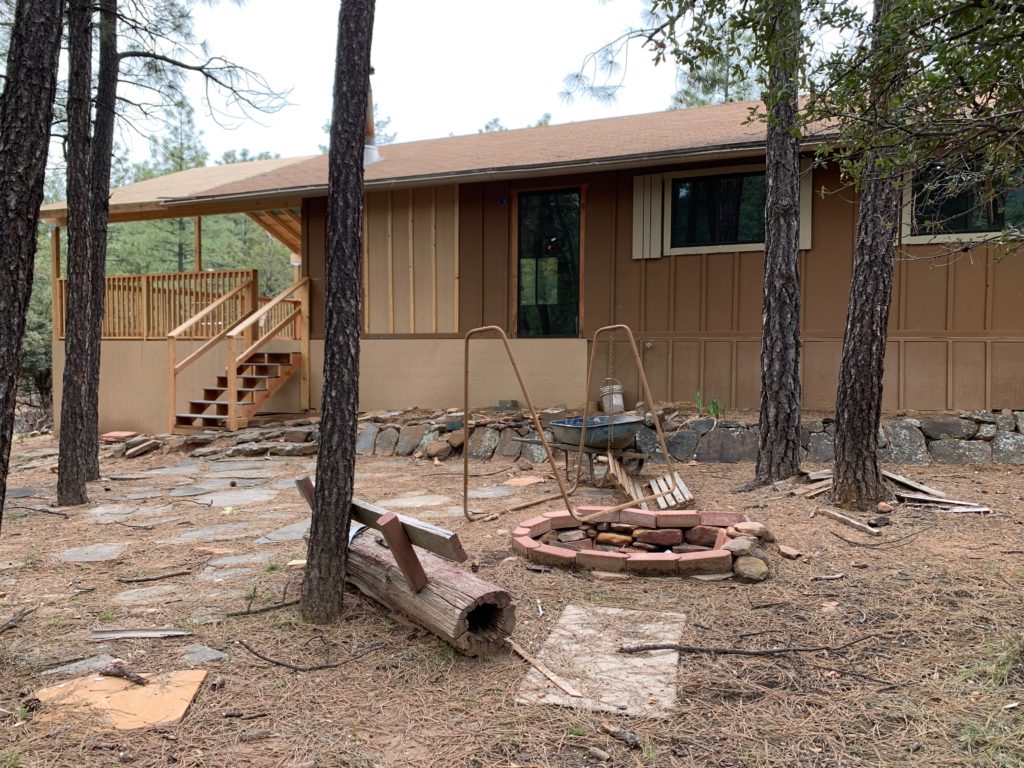
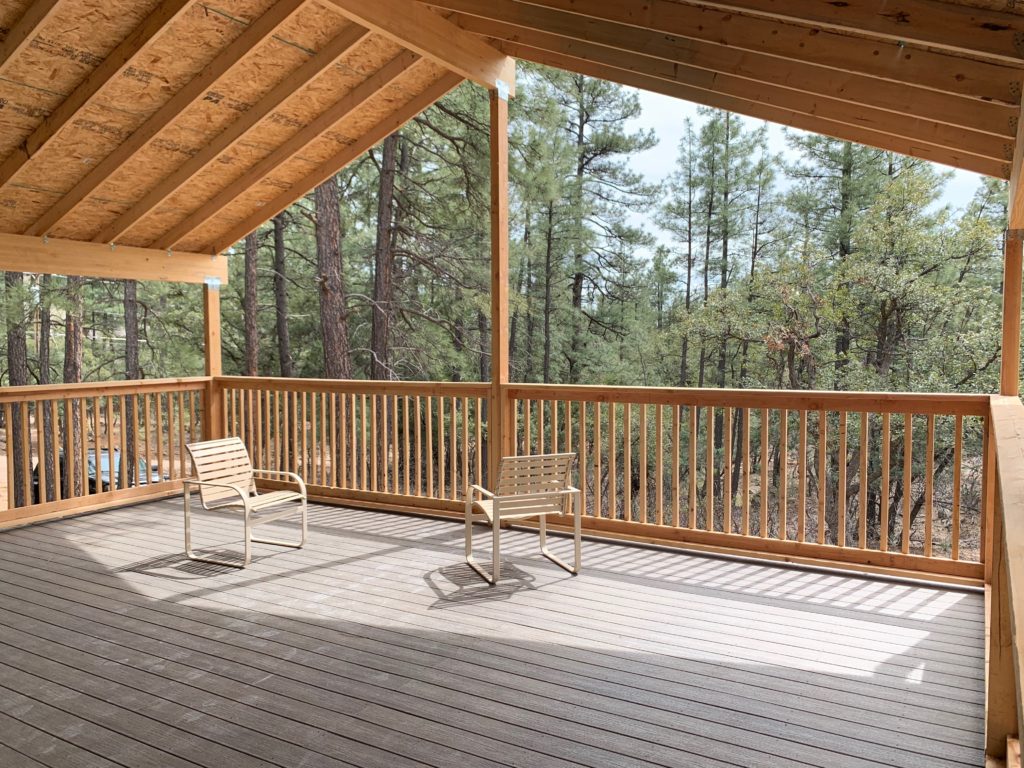
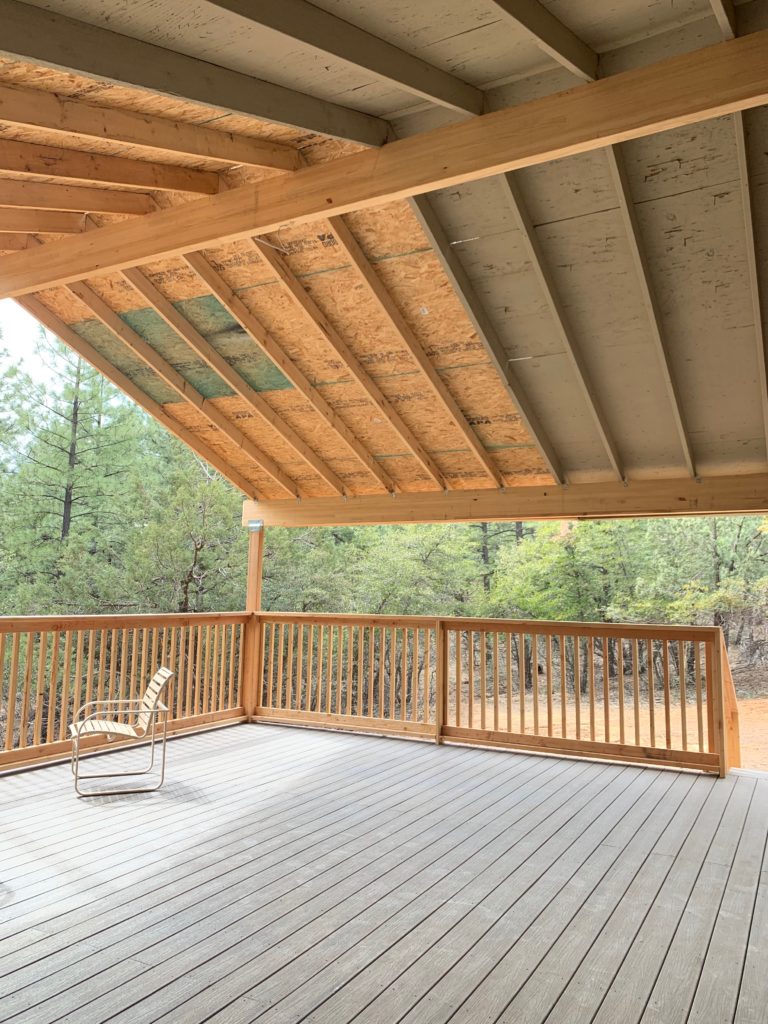
The deck looks so, so good! I can’t even stand it. It was only 6 feet deep before and now it’s 16 feet deep, which gives us so much more room and doubles our living space. The interior of the cabin is less than 1,000 square feet, so the hang outs areas inside are not huge. Having the extended deck gives us room for a hot tub, an outdoor living area and an outdoor dining area. There will be so much more space to spread out and enjoy the beautiful Pine weather. We used composite decking from Home Depot and I am so happy with our choice! The color is great, it’s super low maintenance and we don’t have to worry about wood rot or getting splinters when you are out there on bare feet.
We’ve recently taken a few trips up to Pine over the last few weeks to check on our other project and escape the heat and we’ve already been able to enjoy the deck by having pizza picnics and playing corn hole. If we are getting all of this use out of it now, I imagine it will get a lot more when it’s finally time for us to stay in our cabin! Can you just imagine being in the hot tub when it’s chilly or raining and seeing the stars above the trees? Yep…me too!
The kitchen & Dining room
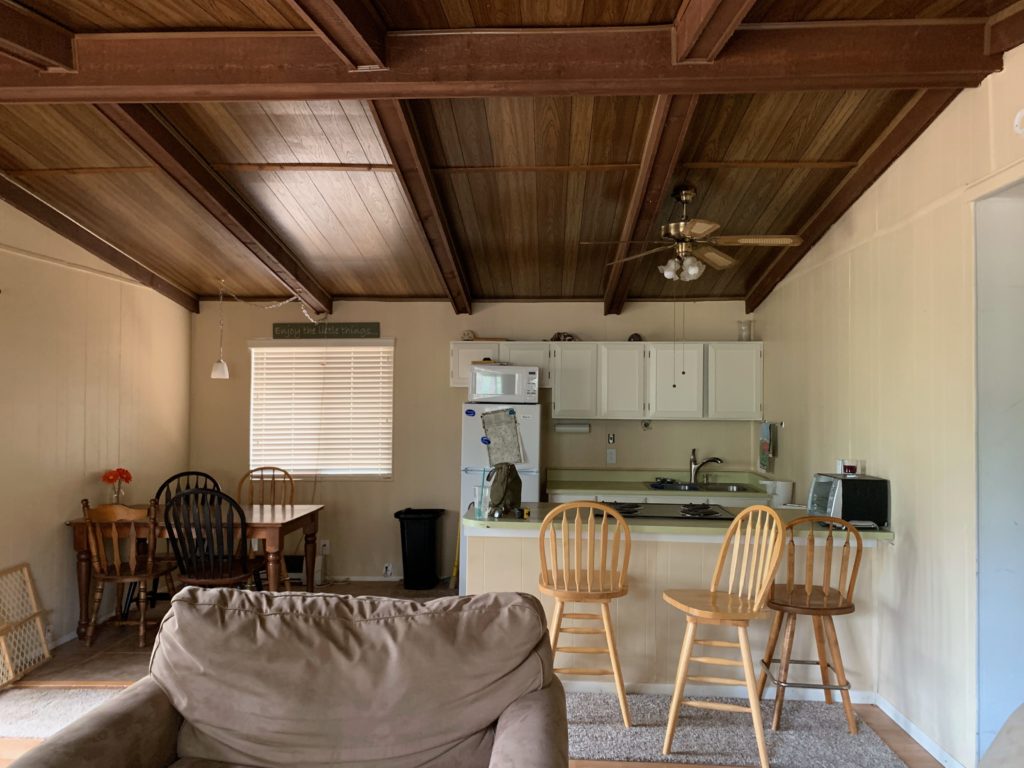
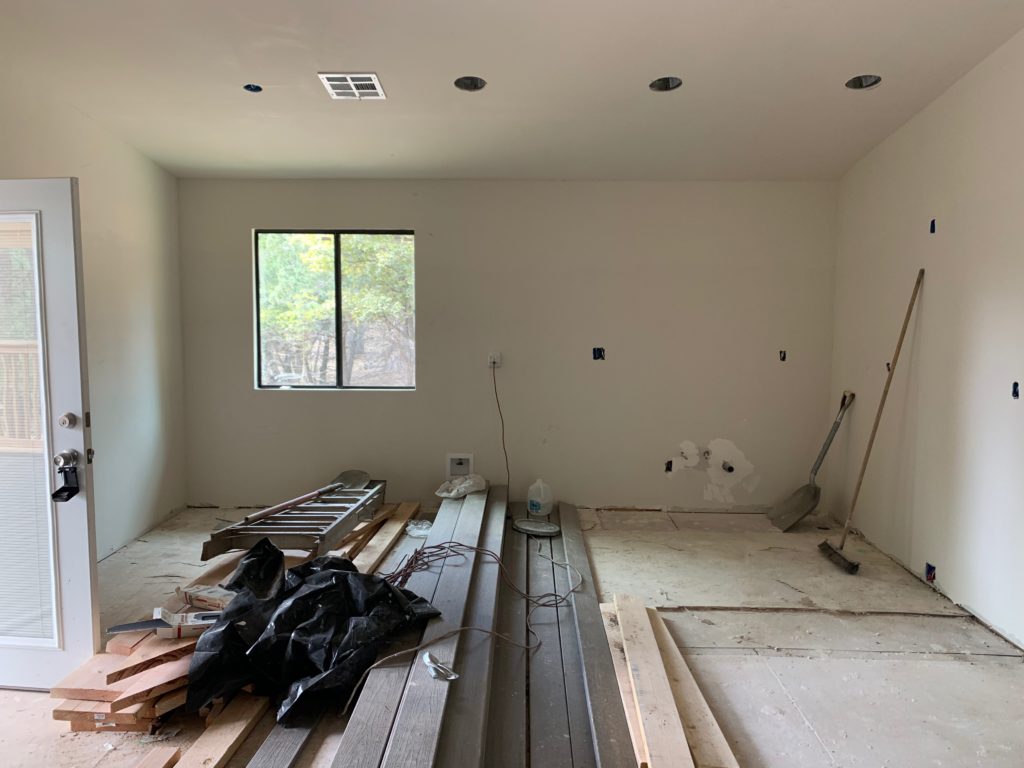
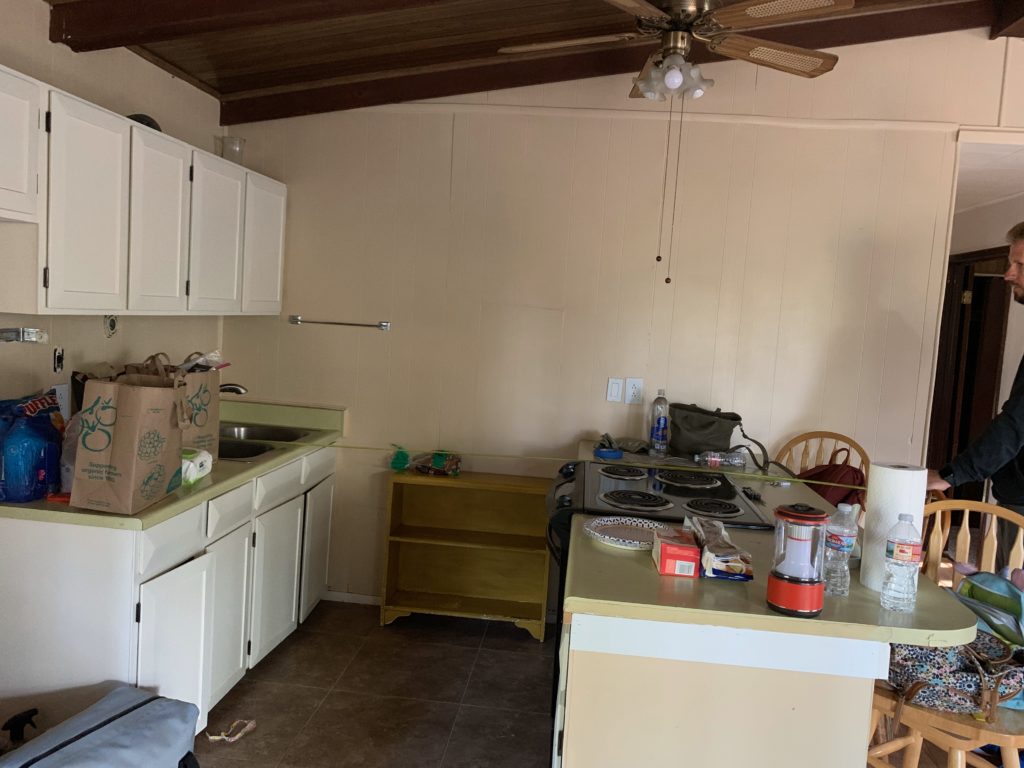
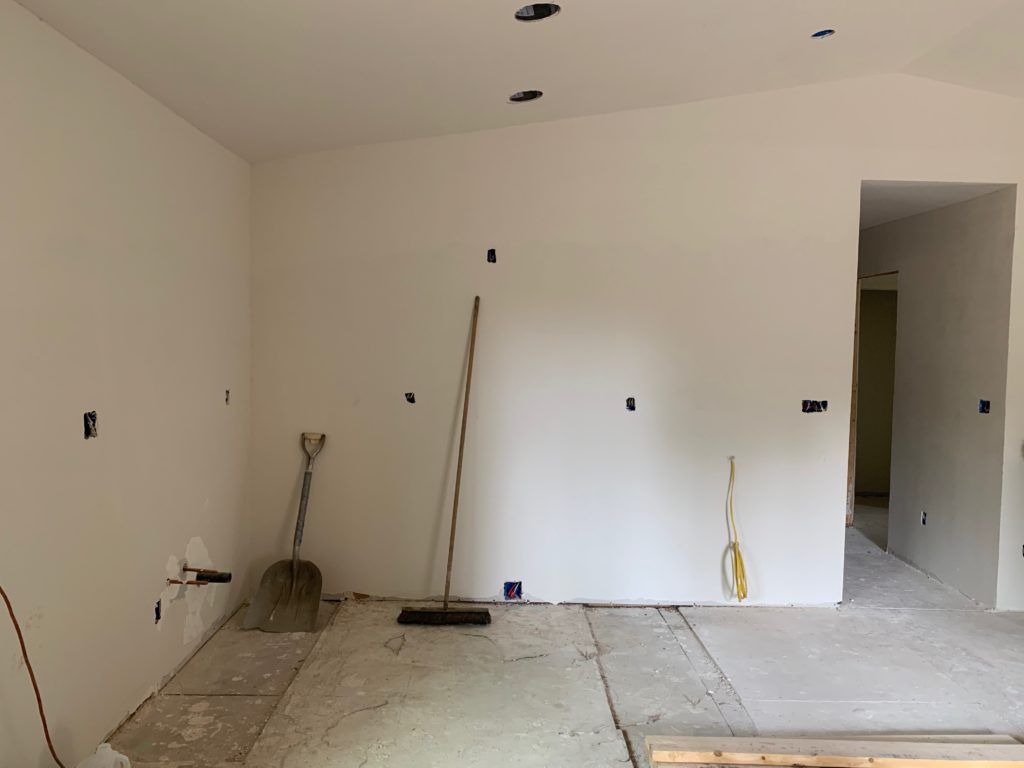
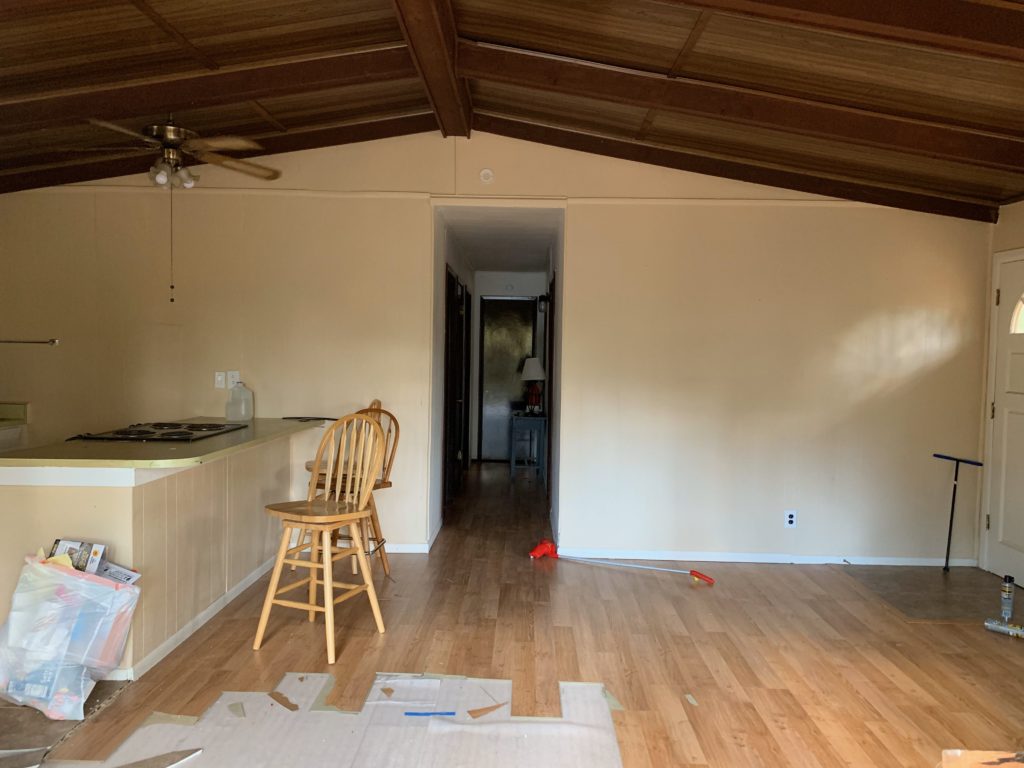

How does it already look so much better when there is nothing there?! And there is a grill and a bunch of building material on the floors? Removing that paneling and the faux wood ceiling really helped and getting rid of the avocado laminate countertops didn’t hurt either!!
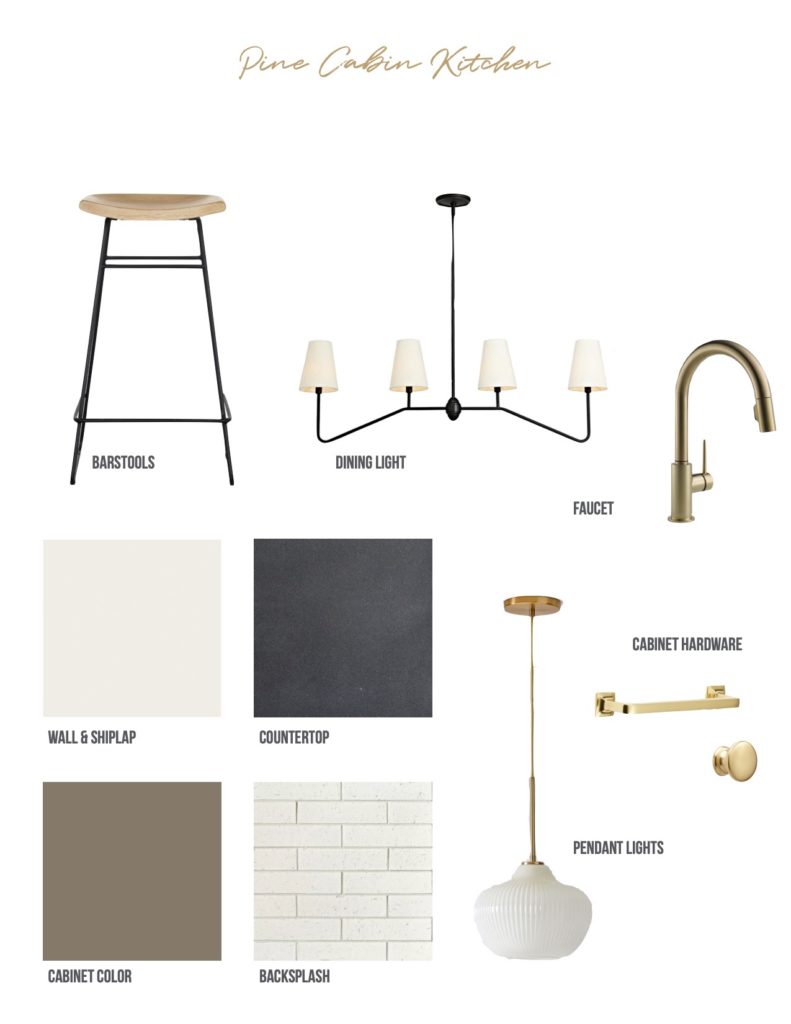
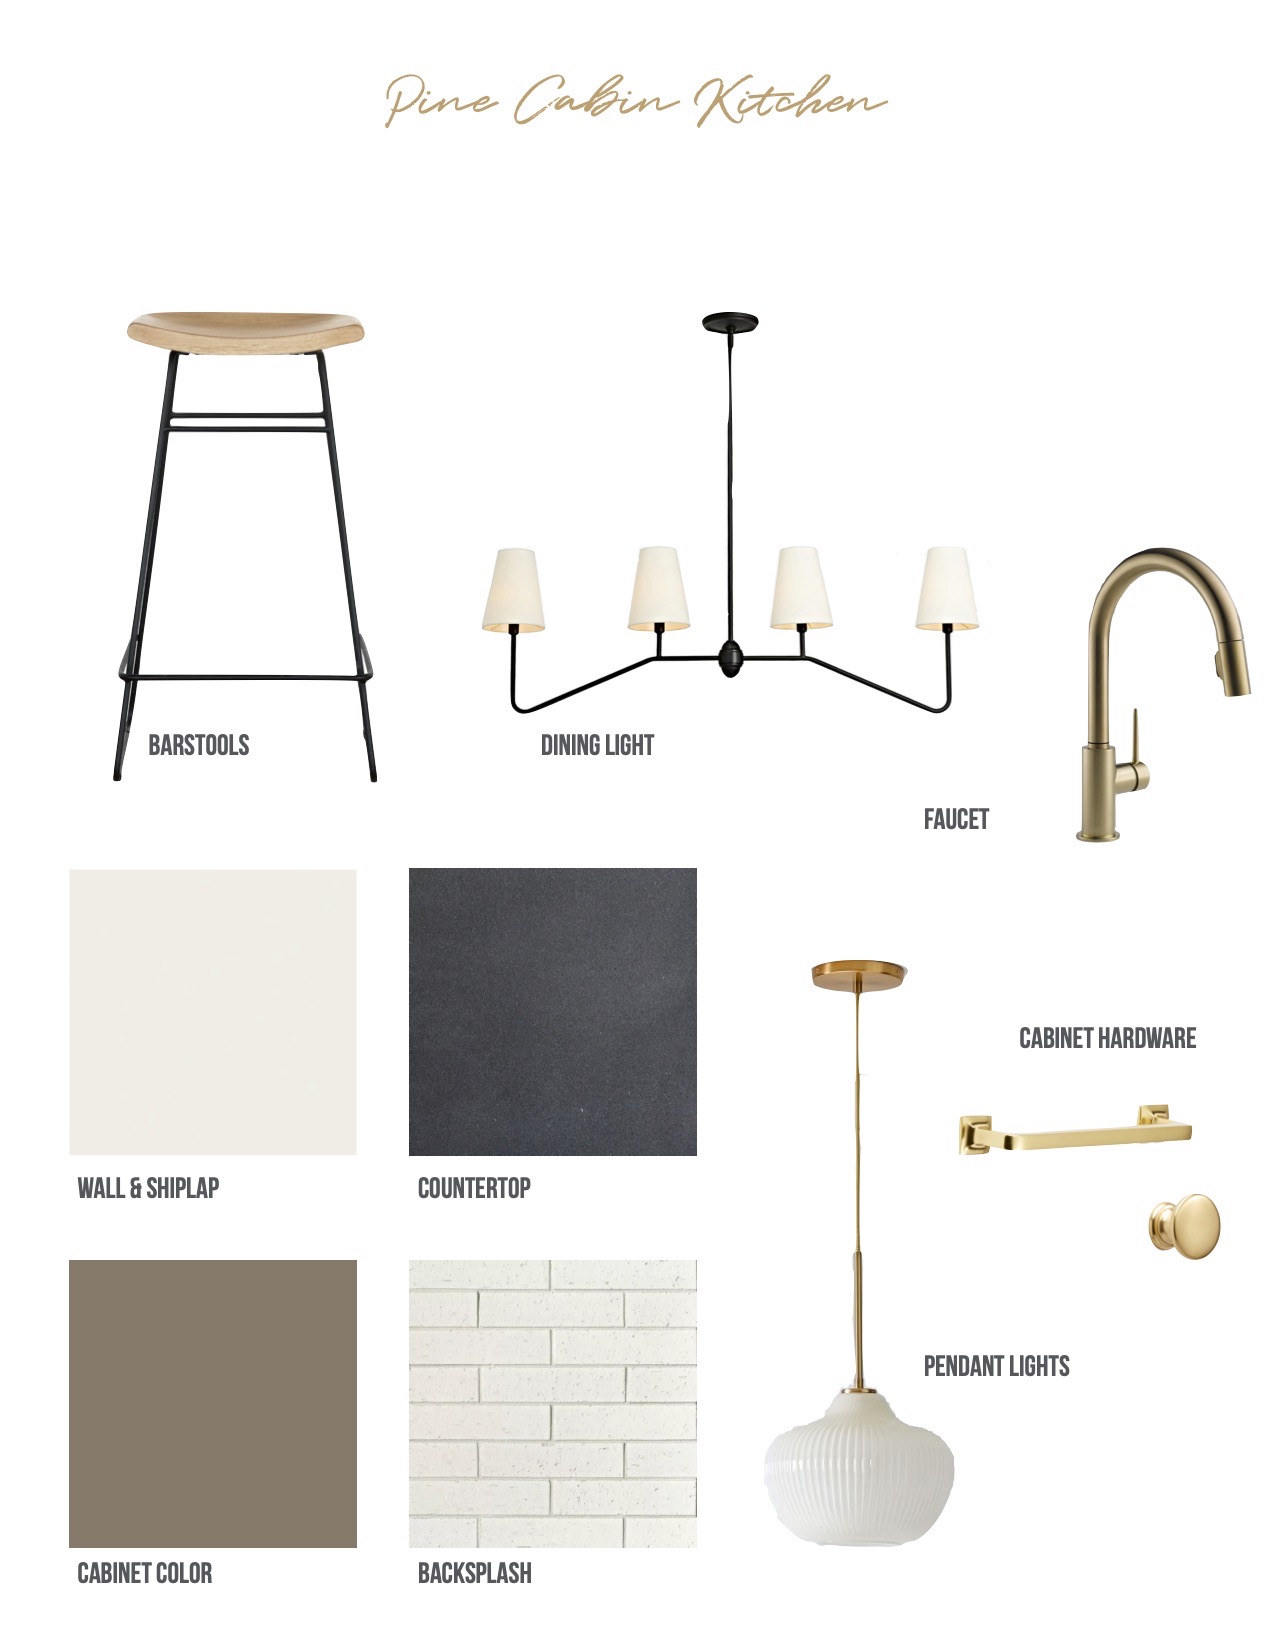
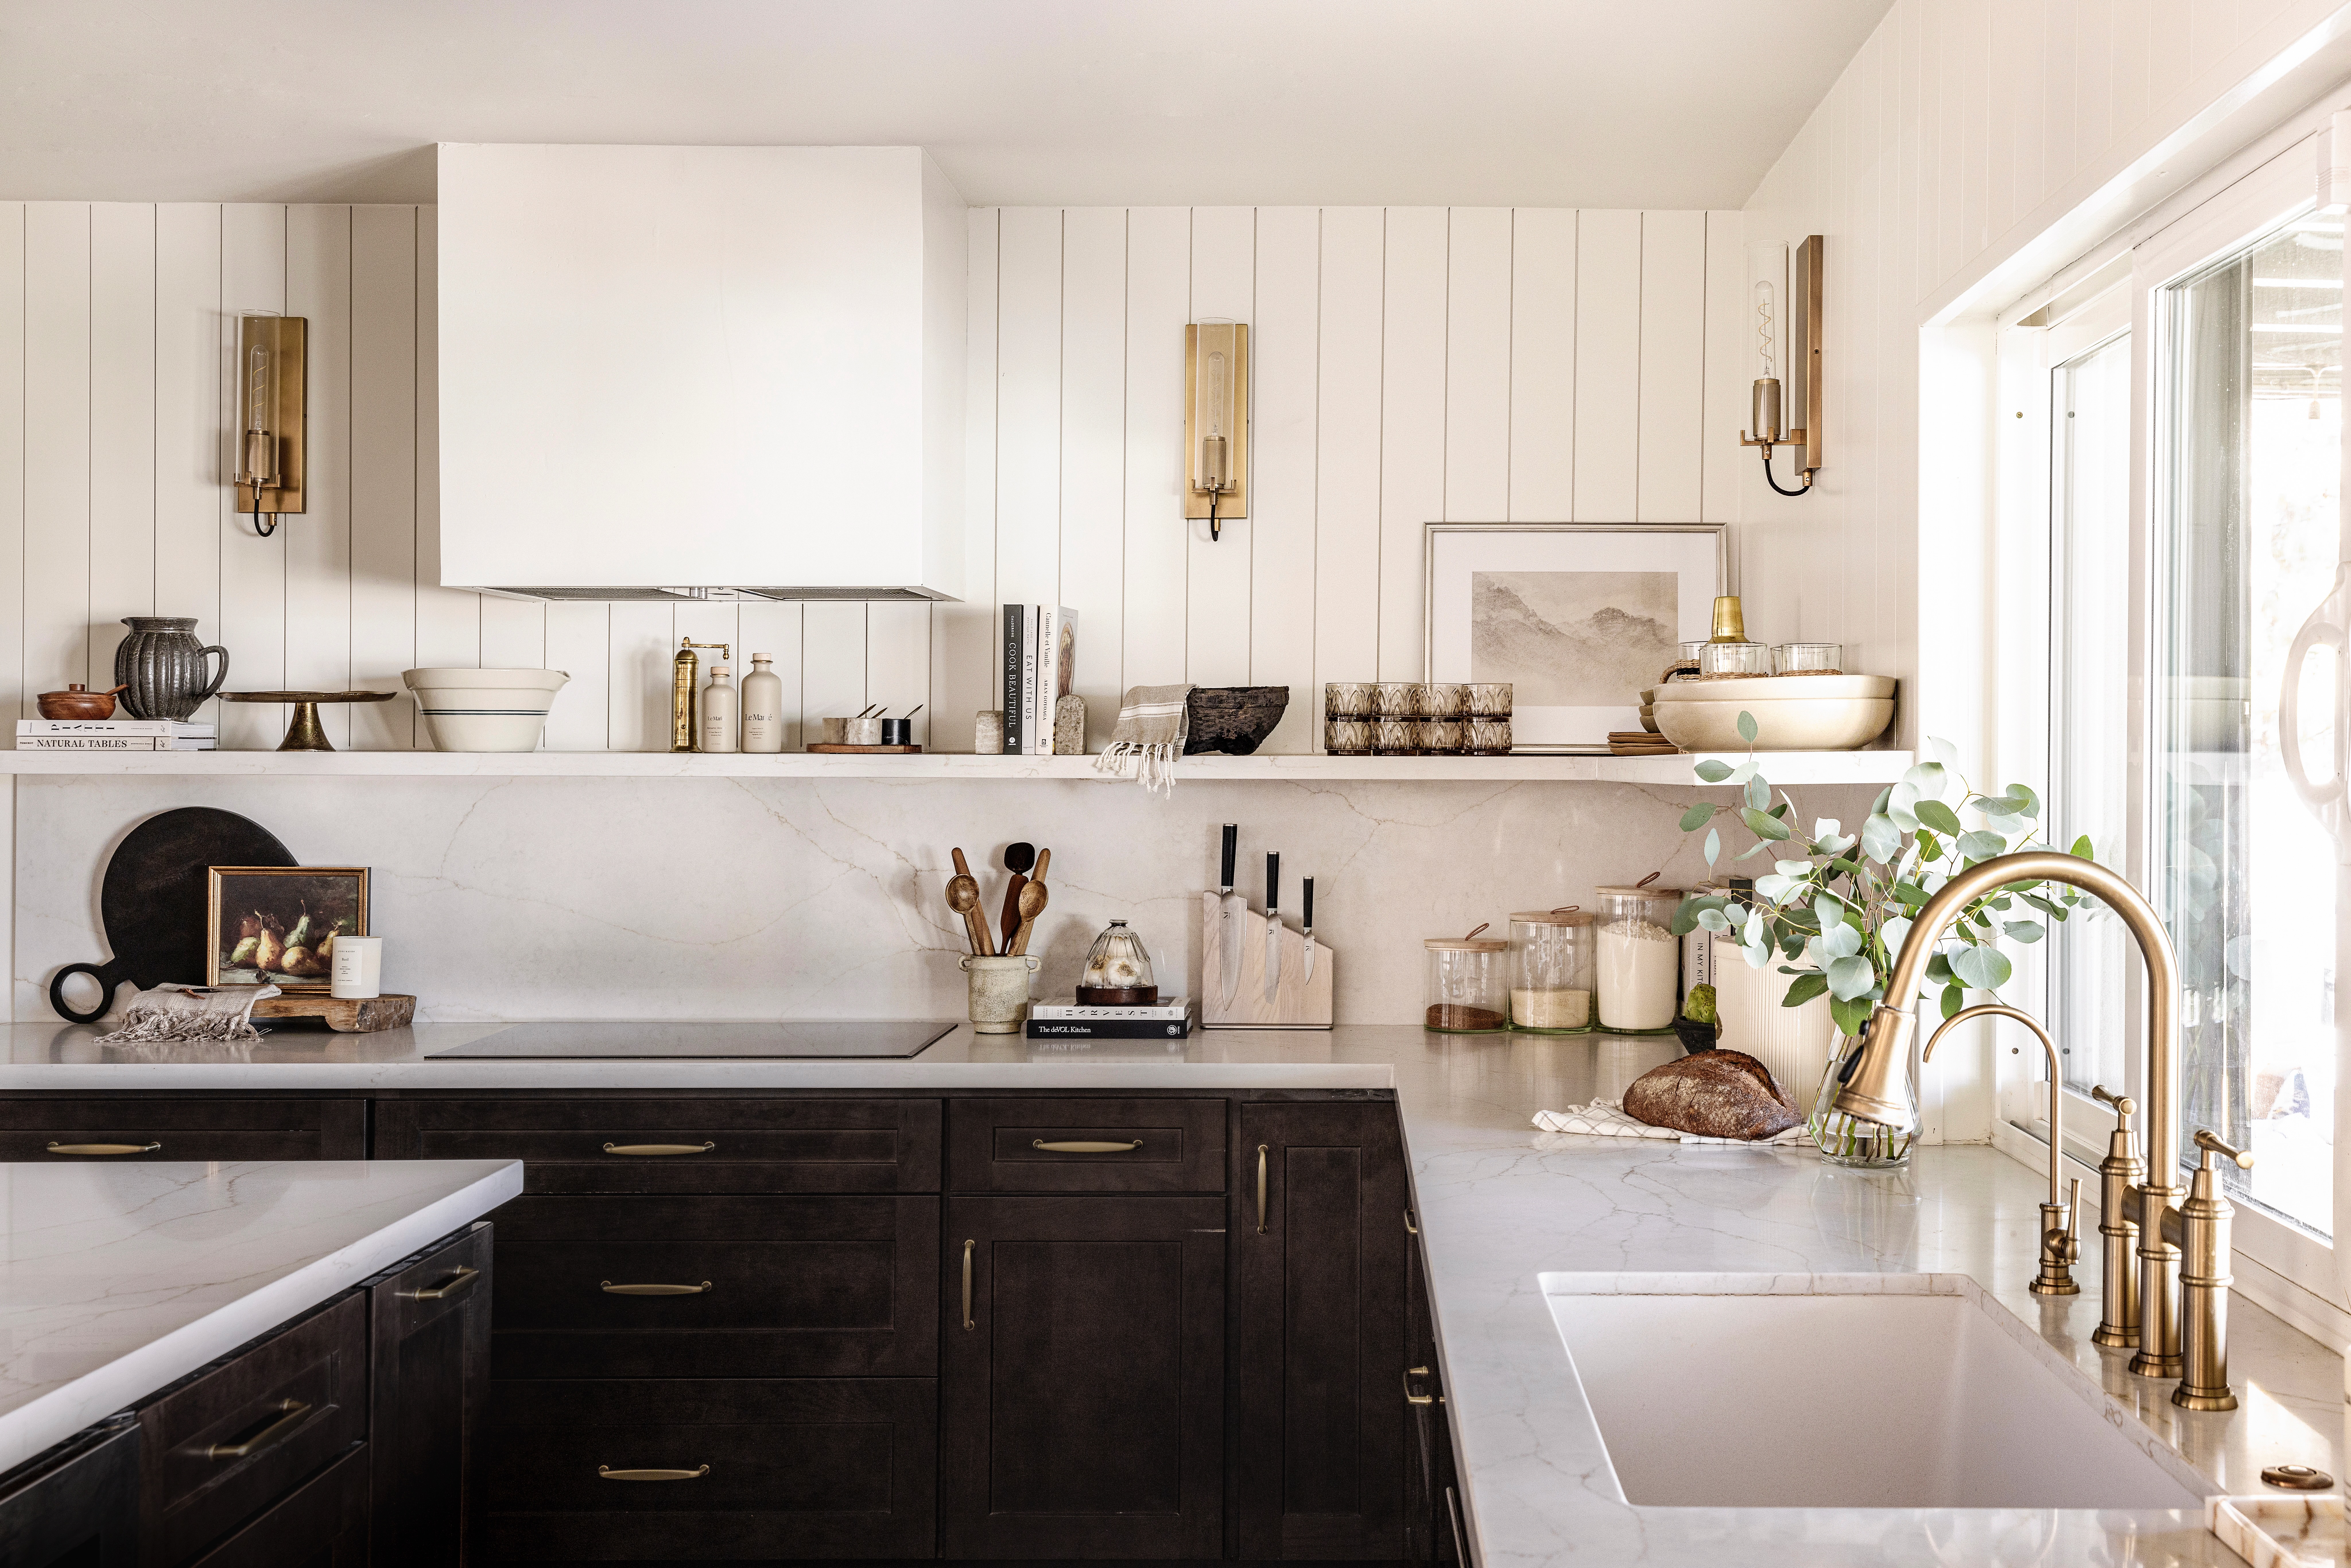
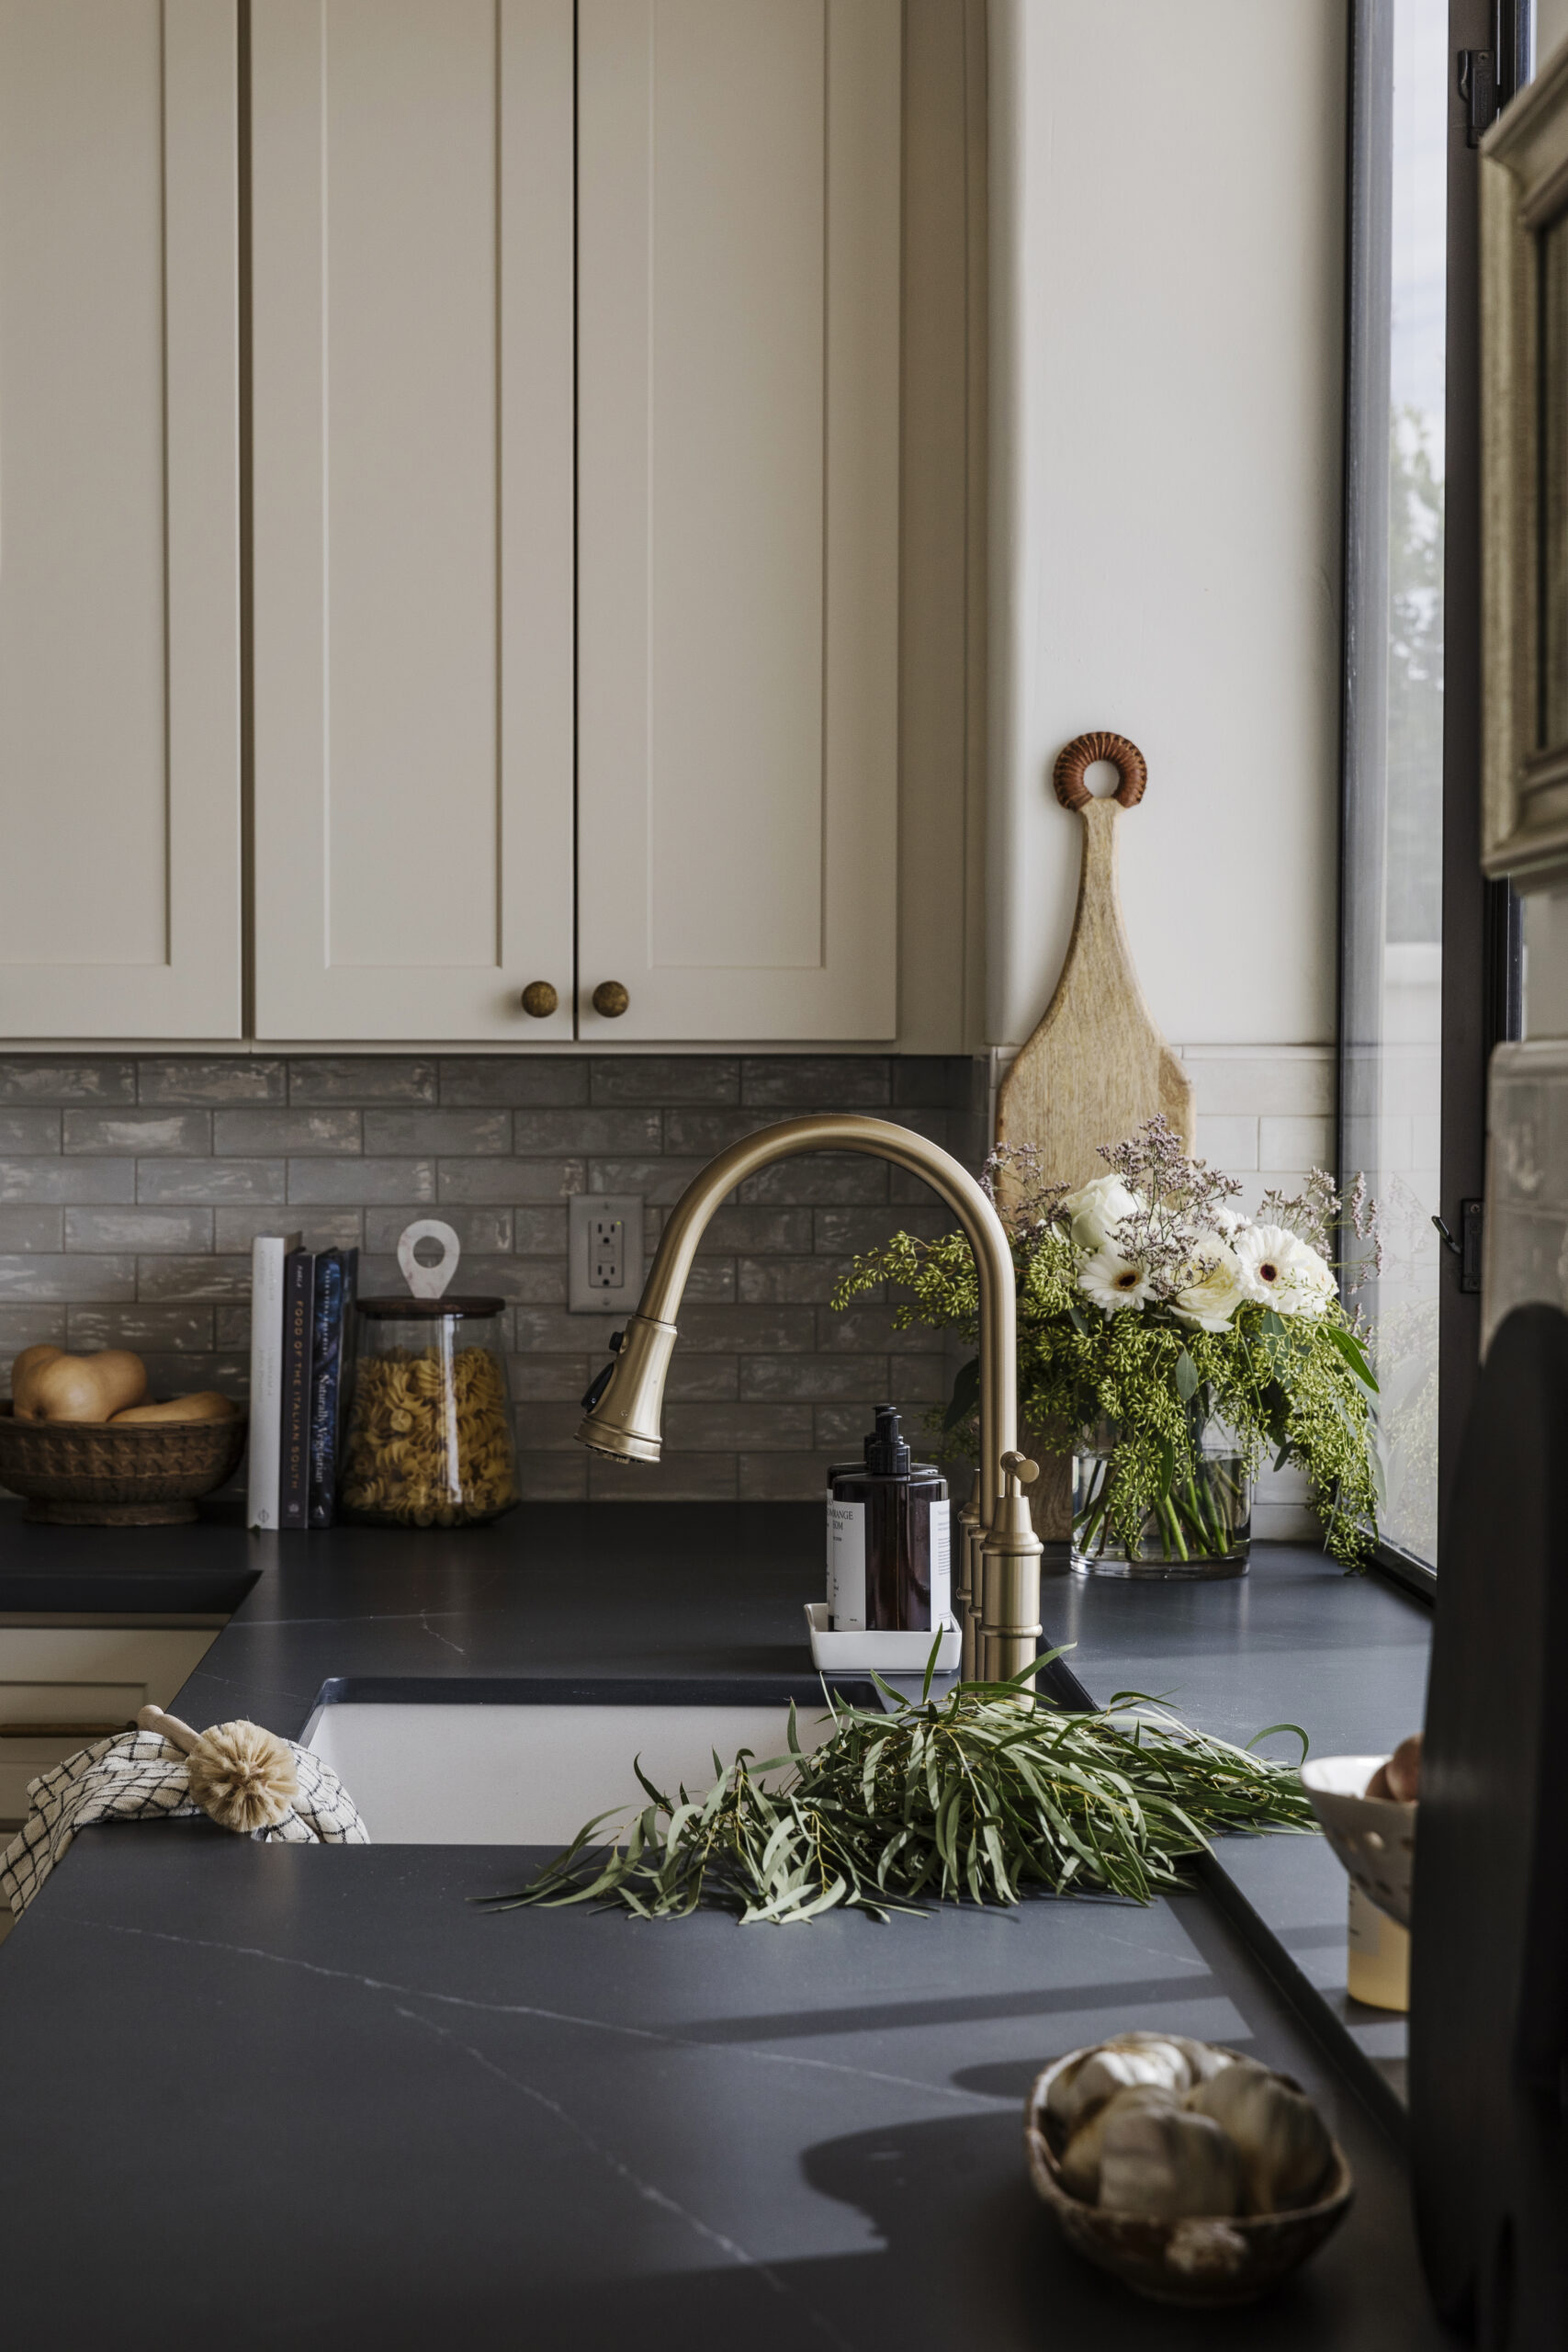
I can’t wait to get this kitchen reinstalled. If you remember from the last post, we are extending the kitchen to the left and out towards the living room. This will allow us to run cabinets on the far right wall, giving us a U-shaped kitchen layout. The sink will stay on the back wall, the range will move to the right wall and the fridge will be on the left towards the dining room. The kitchen will have a moodier feel with a dark taupe gray cabinet and black countertops. But I don’t want the space to feel too dark and cramped, so the backsplash and the walls will be white, which will keep things feeling light and open despite the darker finishes. Below is my design board and you can see that I am going for a warm neutral color palette with tones of white, black, warm grays and brass.
The living Room
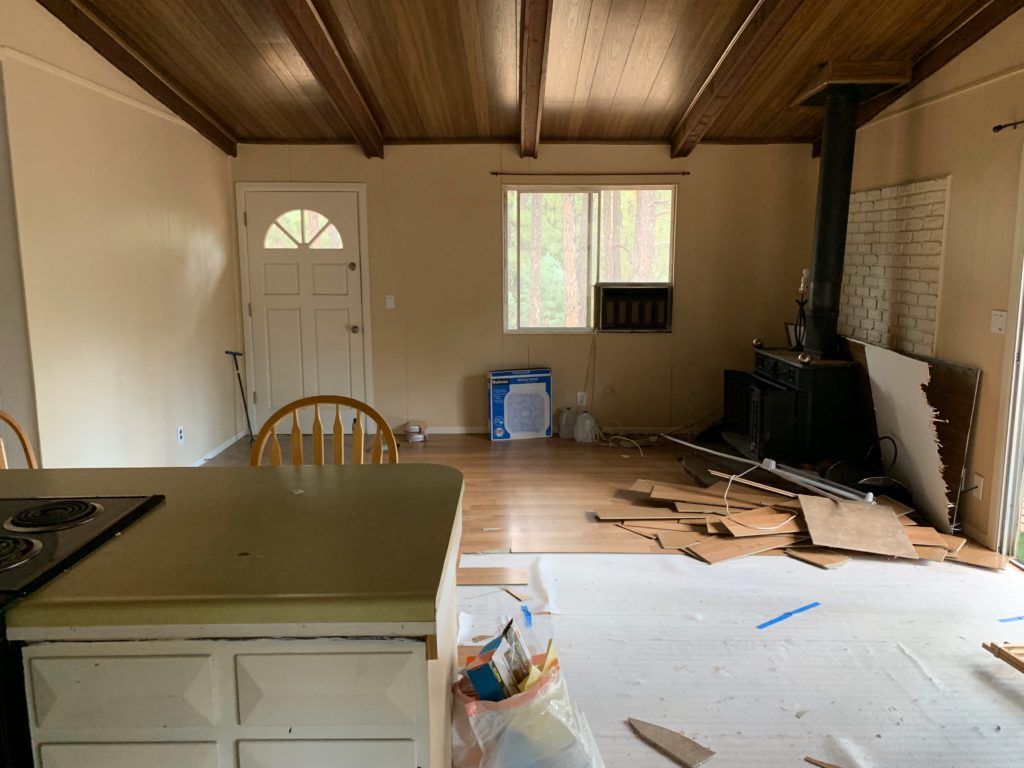
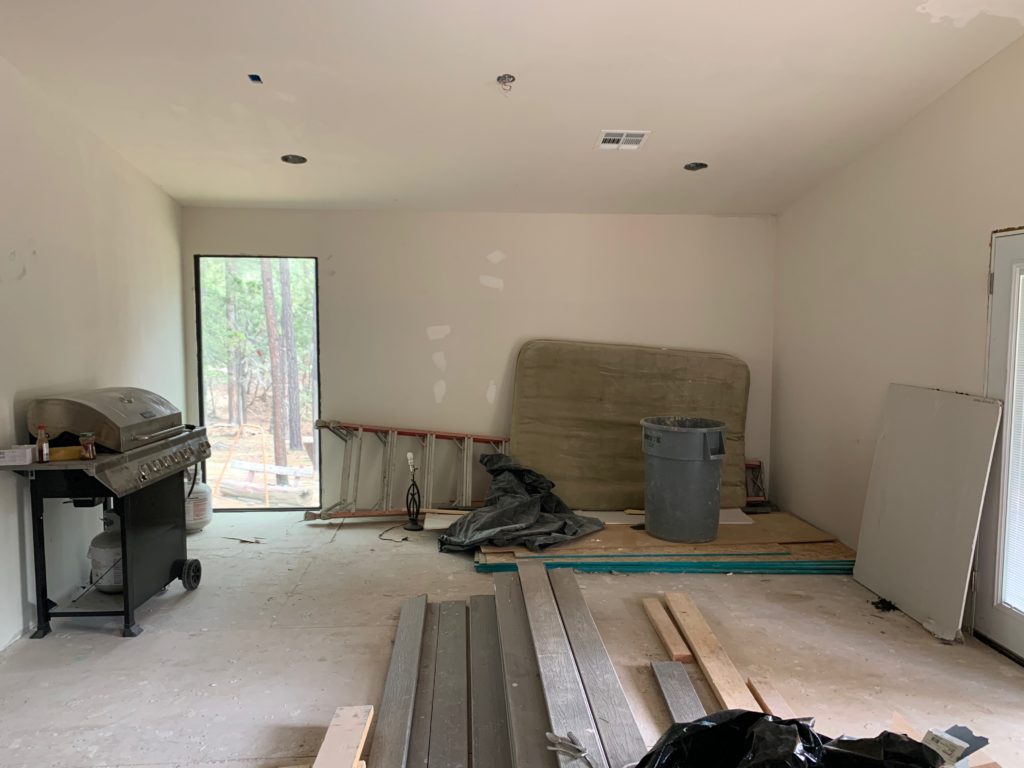
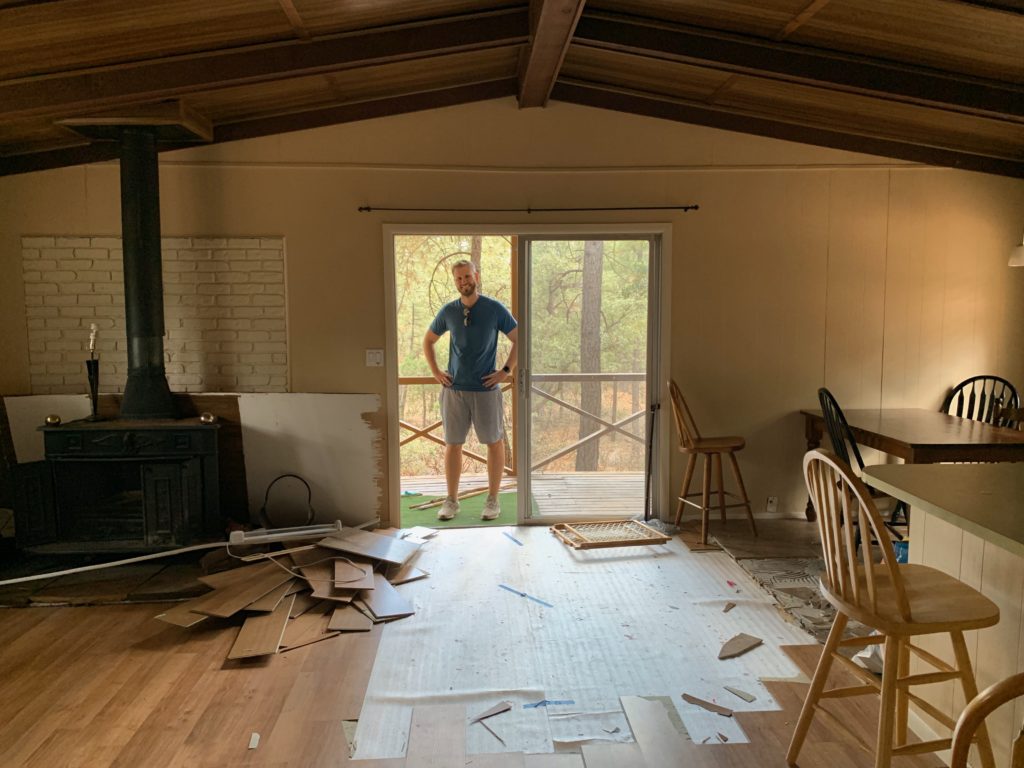
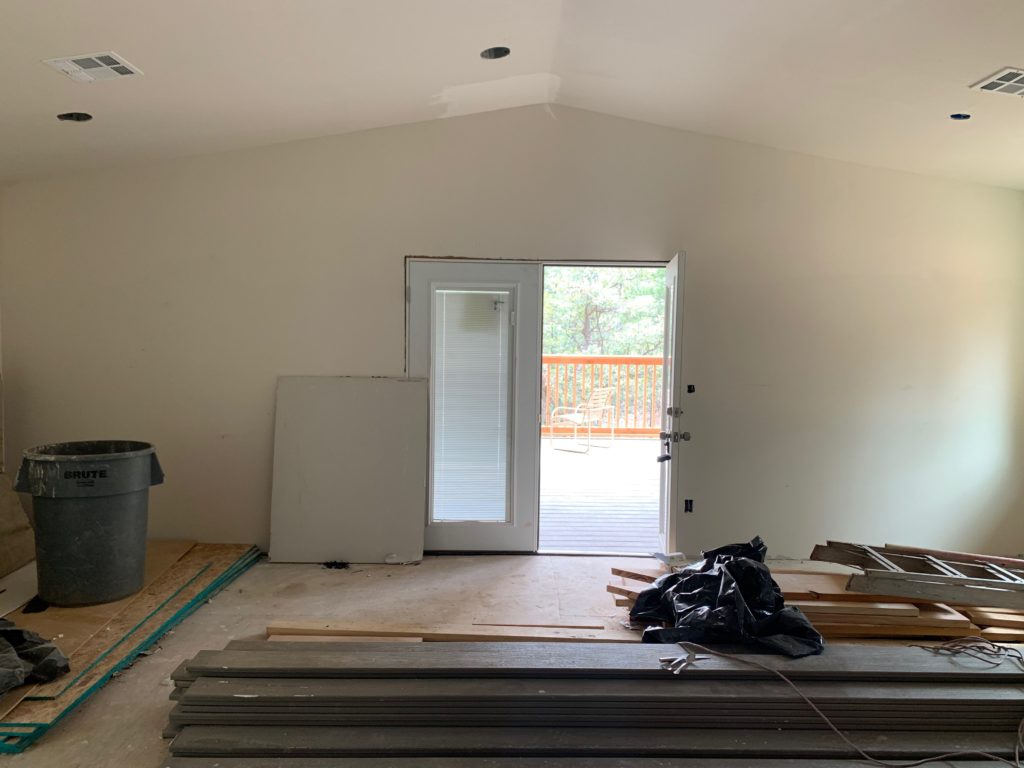
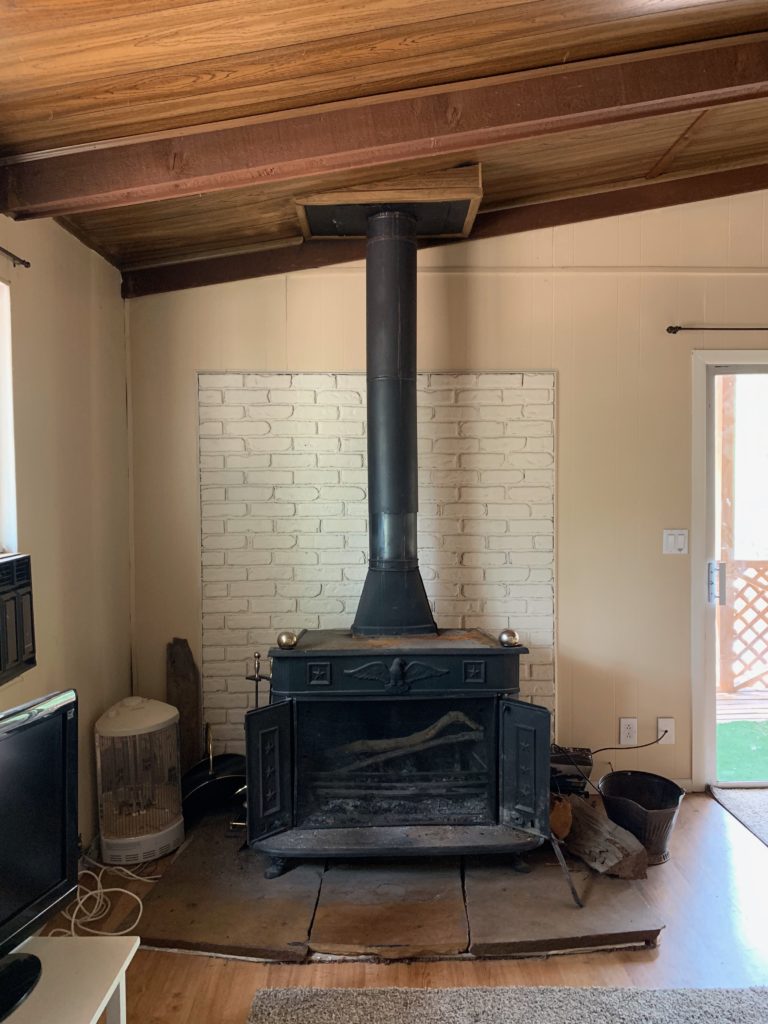
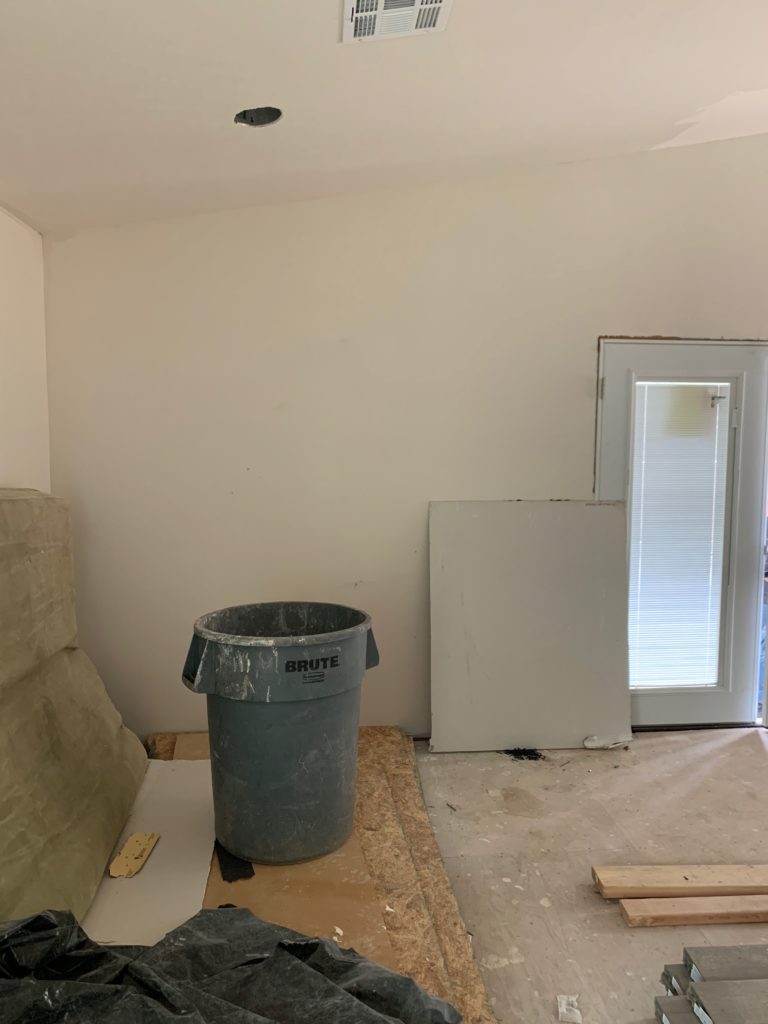
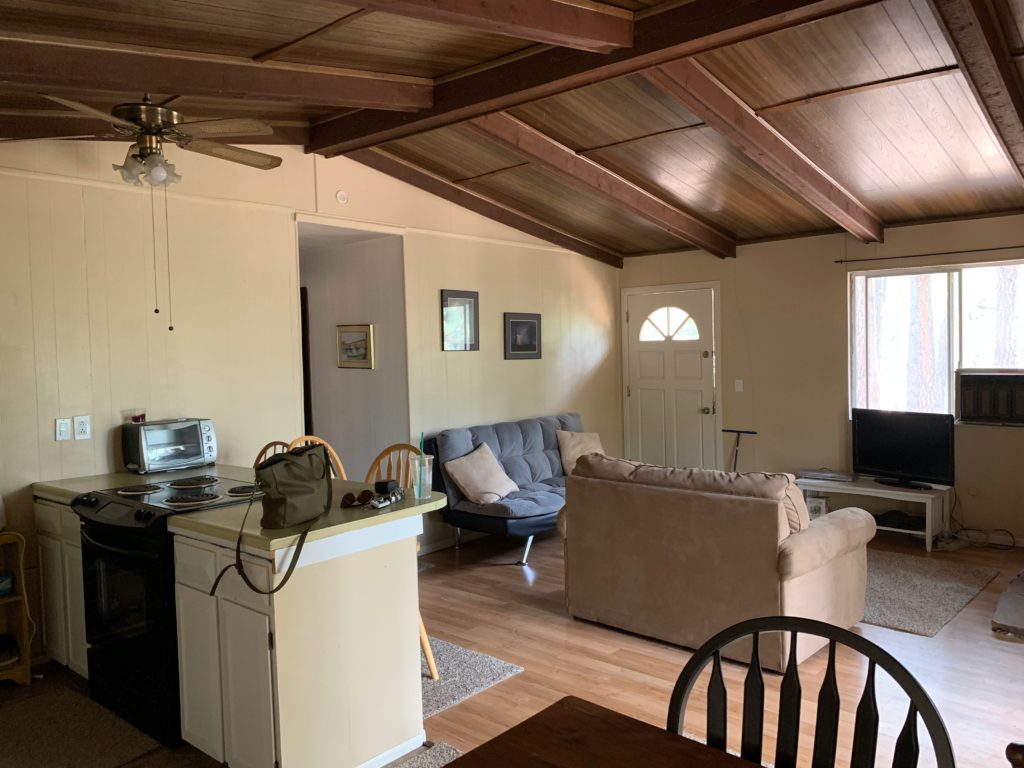
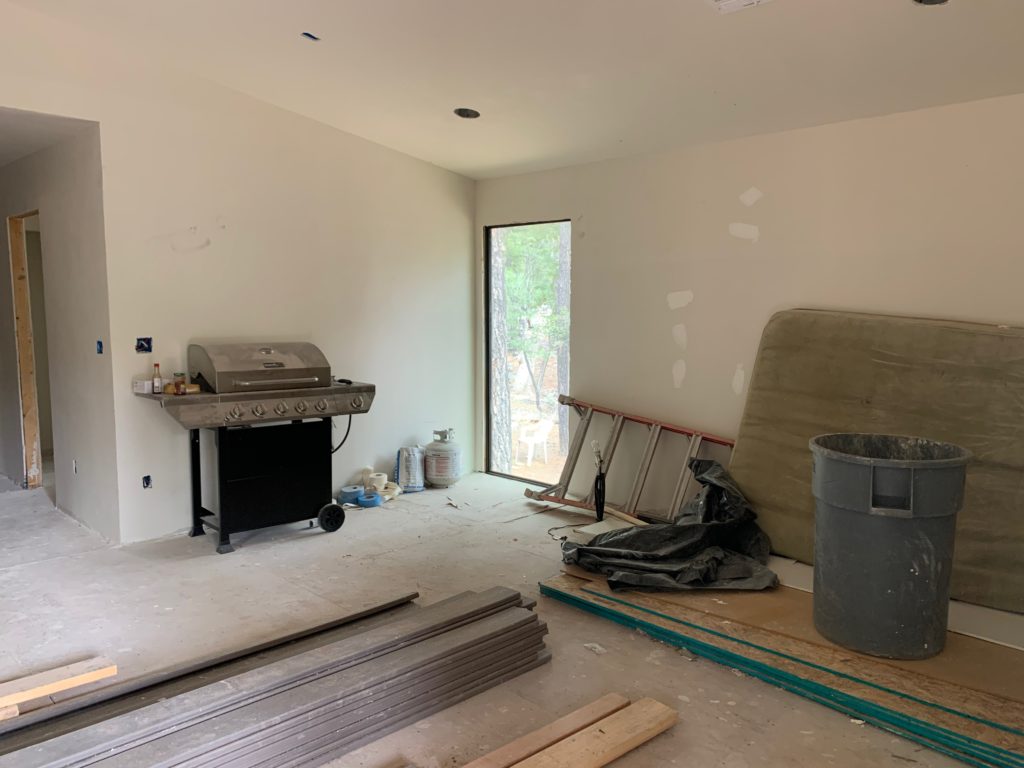
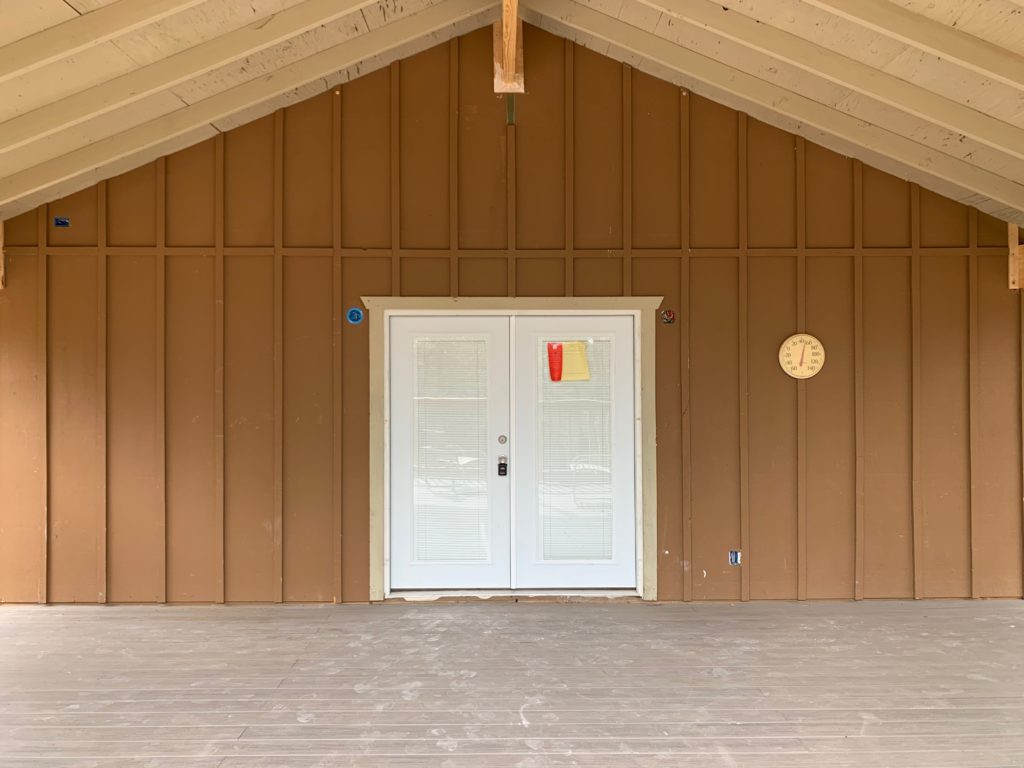
The biggest changes in the family room so far besides the removal of the wall paneling and the faux wood ceiling is the removal of the window and the fact that we removed the original front door and made it into a window. It really changes how this room can function and be laid out. We also have removed the original wood burning (too many stars and eagles for me!), but we will be reinstalling a new one. However, we are shifting it over into the corner of the room. This will allow us to do a larger sectional sofa and also do a little entry/mudroom moment to the left of the front door. And speaking of front doors, the doors off of the deck are now are main front doors. It used to be a patio slider door and we have put in french door with built in adjustable blinds. This allows us to keep natural light coming in the room, but we can shut the blinds for privacy at night.
For the design, I have gone through like 4 different versions of the space and still haven’t settled on how exactly I want this room to feel. We will have beams back on the ceiling, which will add some great warmth and character to the room already, but I want this room to feel super cozy and comfortable. I want a sectional that we can sink into at the end of a day and watch a movie together as a family or that my husband can fall asleep on watching football. Haha! I want there to be a lot of layers and textures, but I don’t know yet what patterns I want to bring in. Plaids, stripes, a vintage rug print?? I don’t know! There are so many choices to be made and now that the kitchen design is done, I feel like I will start to get a clearer picture of how this room will work with that space. Keep you posted!
the Bedrooms & bathroom

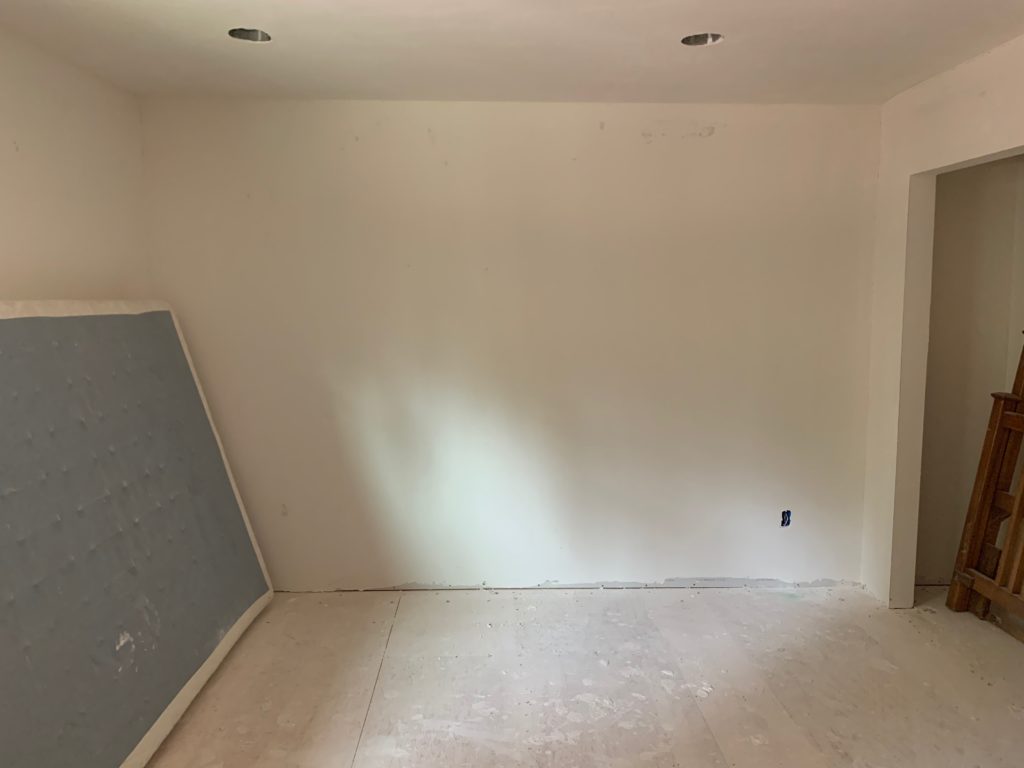
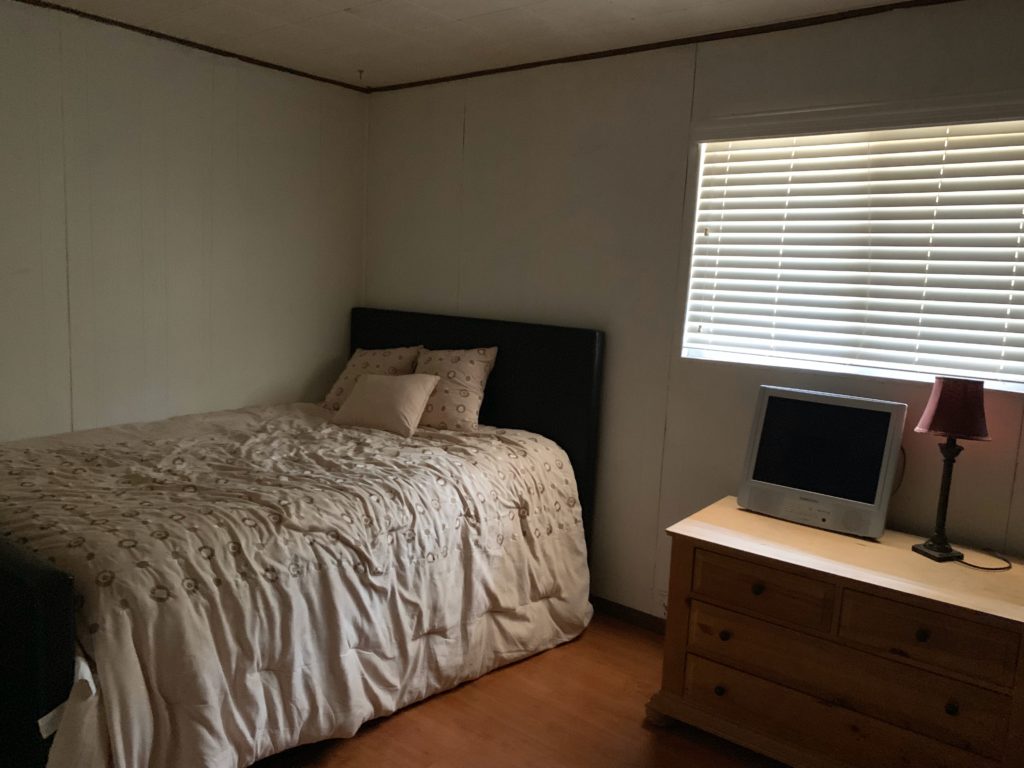
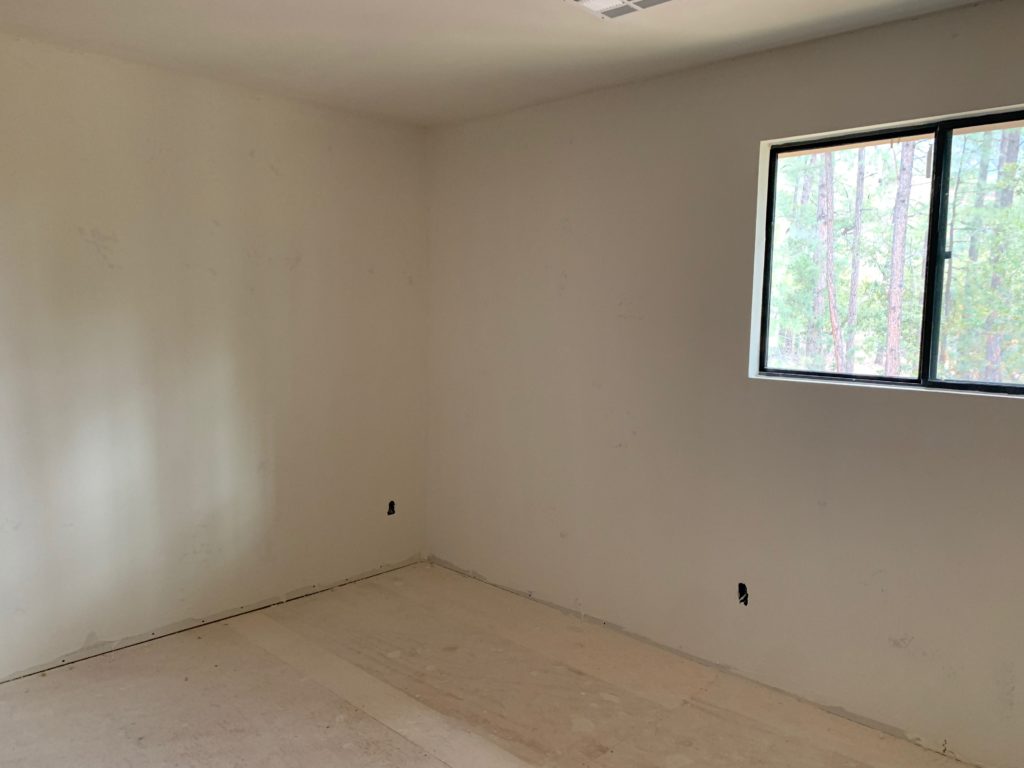
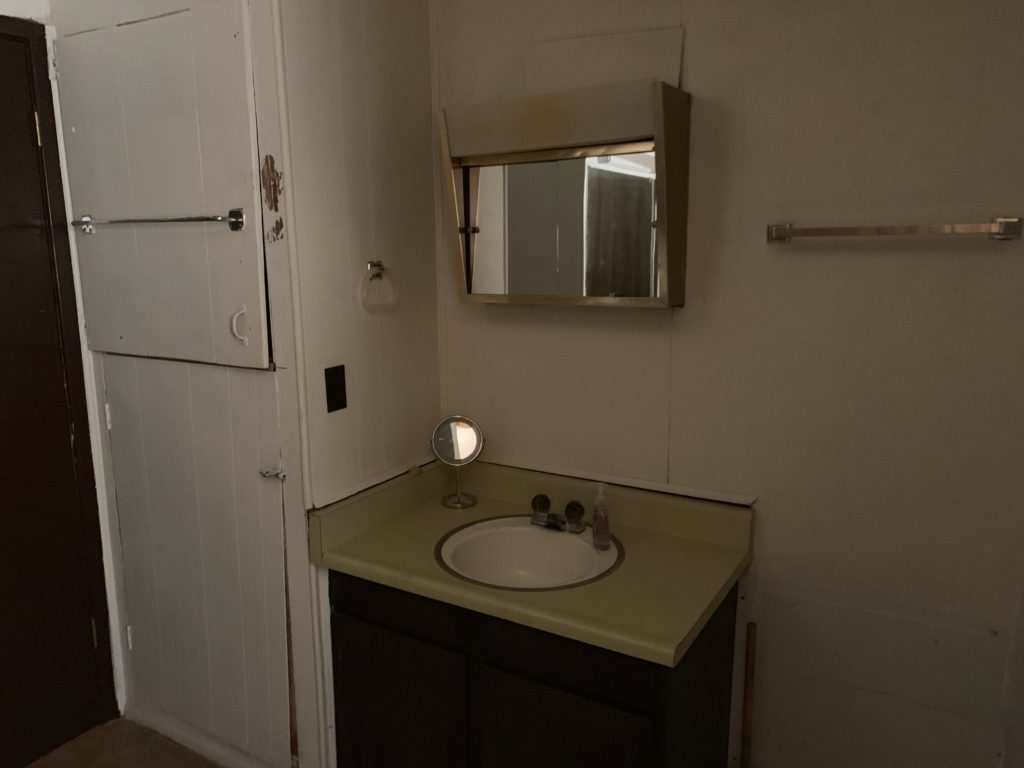

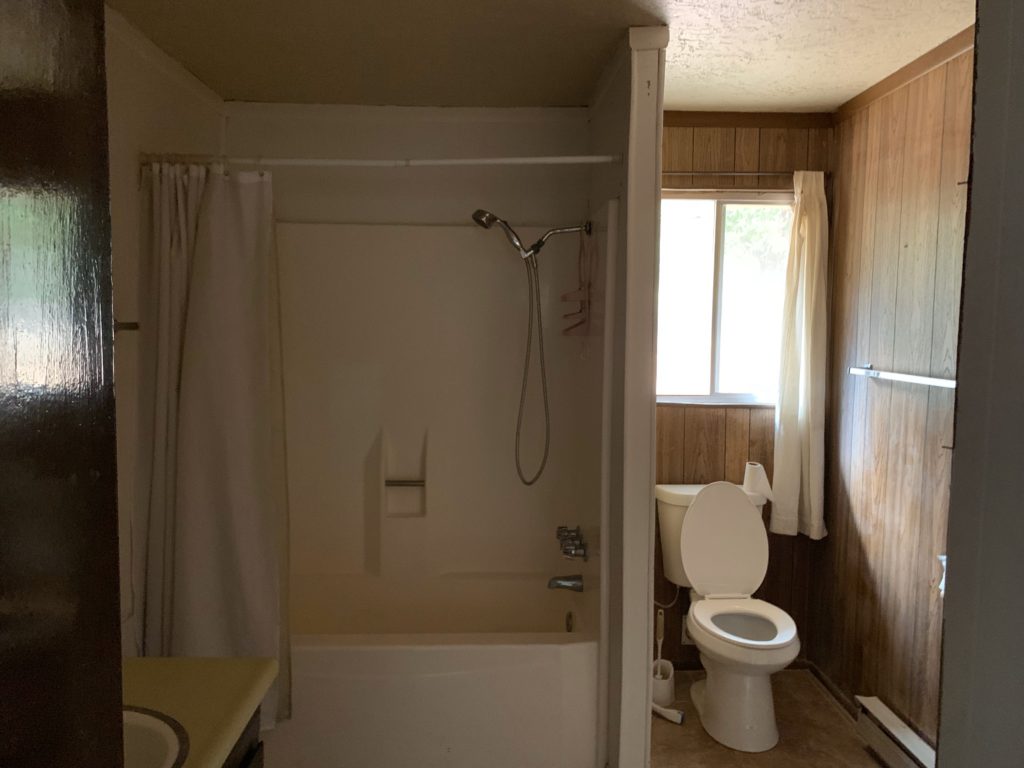

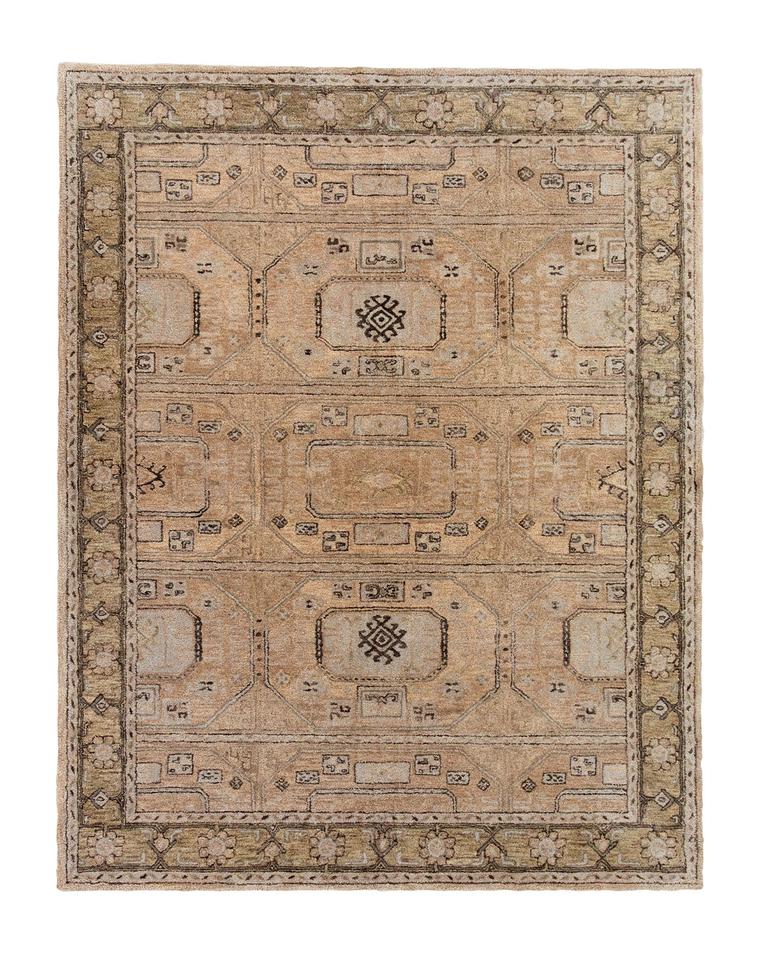
The bedrooms haven’t seen much of a change besides having the flooring and paneling taken out. But looks how much of a difference it’s already made! It’s so much brighter and the rooms seem larger somehow. There are 3 bedrooms total – one will have a king bed, one will have a queen bed and one will have a triple bunk bed. The only decision I have made for these rooms so far is the rug for the master bedroom. But if you want to see the inspiration photos for the bedrooms and bathroom, check out the previous post.
The Master Bedroom Rug
Once we get this project back up and running, I can’t wait to share more of the project and the design boards with you!
In the meantime, check out week 1 of the Spring 2020 One Room Challenge. I’m making over my daughter’s room and it’s gonna be so pretty!
Let's be
friends!
Get exclusive design tips and blog updates sent to your inbox!
Keep reading
I'm brittany Krupnik!
I'm a real estate investor, designer and home stager. I have staged over 500 homes and designed over 250 homes. When I'm not designing, you can find me reading, traveling or trying out a new restaurant. I'm based in Tempe, Arizona where I live with my husband and 3 kiddos!
top posts
Project Reveal: See my home!
shop blissful
Home Decor
shop now
keep reading
Our Favorite Cookbooks
Girl's Bedroom Makeover
How to Host the Perfect Gathering
follow along with Brittany's instagram
Go behind the scenes
join us on
follow along with blissful's instagram
blissful
browse the blog
Services
Arizona
Creating beautiful spaces where life can be enjoyed
Learn

read comments or leave a comment...