


Back to this mid-century modern project!
Last week I shared with you the reveal of the kitchen, living room and dining room of this vacation rental project. You can check that post out here! This week I am sharing all of the bedrooms and bathrooms from this home...a couple of them didn't exist when we started renovating this home.
Primary Bedroom & Bathroom


I won't keep you in suspense for too long. This is the bedroom and bathroom that didn't exist when we bought the home. If you remember from last week's post about the living room, we removed a lot of things around when it came to the front door of the home. Originally you walked in the front door and into an entry way. You could head left to get the living room that I already revealed or you could head right into an addition that they made into a second living room. Now, when it comes to vacation rentals you want to sleep as many guests as possible. It just means you can charge more per night and accommodate larger groups. There wasn't really a need for a second living room, but we definitely wanted a fourth bedroom and third bathroom.
You can see if the before photos below that there were glass block windows on one side of the room and the current walk-in closet used to be the entry way. We removed the closets along one side of the room and turned that area into the ensuite bathroom. We also got rid of the terrible wood paneling and updated the fireplace with a matte black tile.
The bedroom had plenty of room for a king bed, but this room layout left a lot to be desired when it came to other furniture. We opted to put the dresser in the closet, which isn't ideal. But besides the area where the chair is, there were no other walls available that didn't block walkways or get hit by sliding doors. We chose a tall chest of drawers to go there, but I didn't like the way it felt when I walked into the room. It felt too closed in. I think it worked out well this way!
The bathroom was a fun one to design! I wanted something bold and I knew I wanted black and white to be paired with the wood flat front cabinets. I had been wanting to do an all black tile shower and I am really thrilled with how it turned out. Because there is no natural light in this bathroom, I opted for white grout instead of black grout. But if I'm being honest, I wish that I would have just gone with the black grout. I think it would have been even more dramatic. I'm glad that we were able to have a double vanity, plus a separate toilet room in this bathroom. It will make such a difference when it comes to resale as well.
shop the primary bedroom & bathroom

BEFORE & AFTER

")


Secondary Bedroom & Bathroom


This space used to be the primary bedroom and bathroom. The room was actually a great size and had a walk-in closet already. What it really came down to was choosing how to layout the furniture to best showcase the room and the art. You can see from the marks on the carpet that the bed used to sit under the window and while that totally would have worked in this room, we really wanted to hang art above the bed, so we chose instead to place it on the wall to the right. This also allowed us to use a king bed and have nightstands without blocking the door to the closet. We could have still done the dresser on the wall to the left when you walk in, but we wanted to have a TV set up in this room, so we chose a dresser to fit on the wall between the doors and then added what every vacation rental should have...a full length mirror! We also styled it with a little tree and an ottoman that can be used to sit down and put your shoes on or sit on to do your makeup in front of the mirror.
The bathroom felt a little tight and it's definitely not oversized, but a few changes made this bathroom brighter and more open. One of the easiest changes to make was removing the curtains from the bathroom window. Now, I appreciate privacy in the bathroom as much as the next person, but curtains?? No, thanks! We chose to install white wood blinds that could be opened to let natural light in and closed when needed. We also replaced the tinted window with a new clear window to match the rest of the windows on the exterior and that helped so much. The other change we made was installing a frameless shower glass door with clear glass. It makes the space feel larger to be able to see all of it instead of your eye stopping at the old shower door. If I could choose the best thing we did in the bathroom though, it would be removing the carpet. Whoever came up with that idea years ago was not thinking about how gross it is.
I love the warmth of the wood cabinets and brass fixtures paired with the gray and white hard finishes throughout. It plays into that mid-century modern look without being too cold and sterile.
shop the secondary bedroom & bathroom
BEFORE & AFTER


Additional Bedrooms & Bathroom


There are two additional bedrooms and one more bathroom to reveal! The bedrooms themselves aren't much of a transformation since we kept the rooms as is and just changed the paint, carpet and ceiling fan. But the furniture and styling of the spaces are what make these rooms fun.
The bathroom footprint stayed the same, but with the new shower tile, new floors, a new vanity and lighting it looks like a brand new space. Plus, the art and accessories add another layer of color and visual interest.
shop the additional bedrooms & bathroom
BEFORE & AFTER


I hope you enjoyed this mid-century modern remodel! If you want to book a stay here, check out our site for Stay Blissful Vacation Homes!
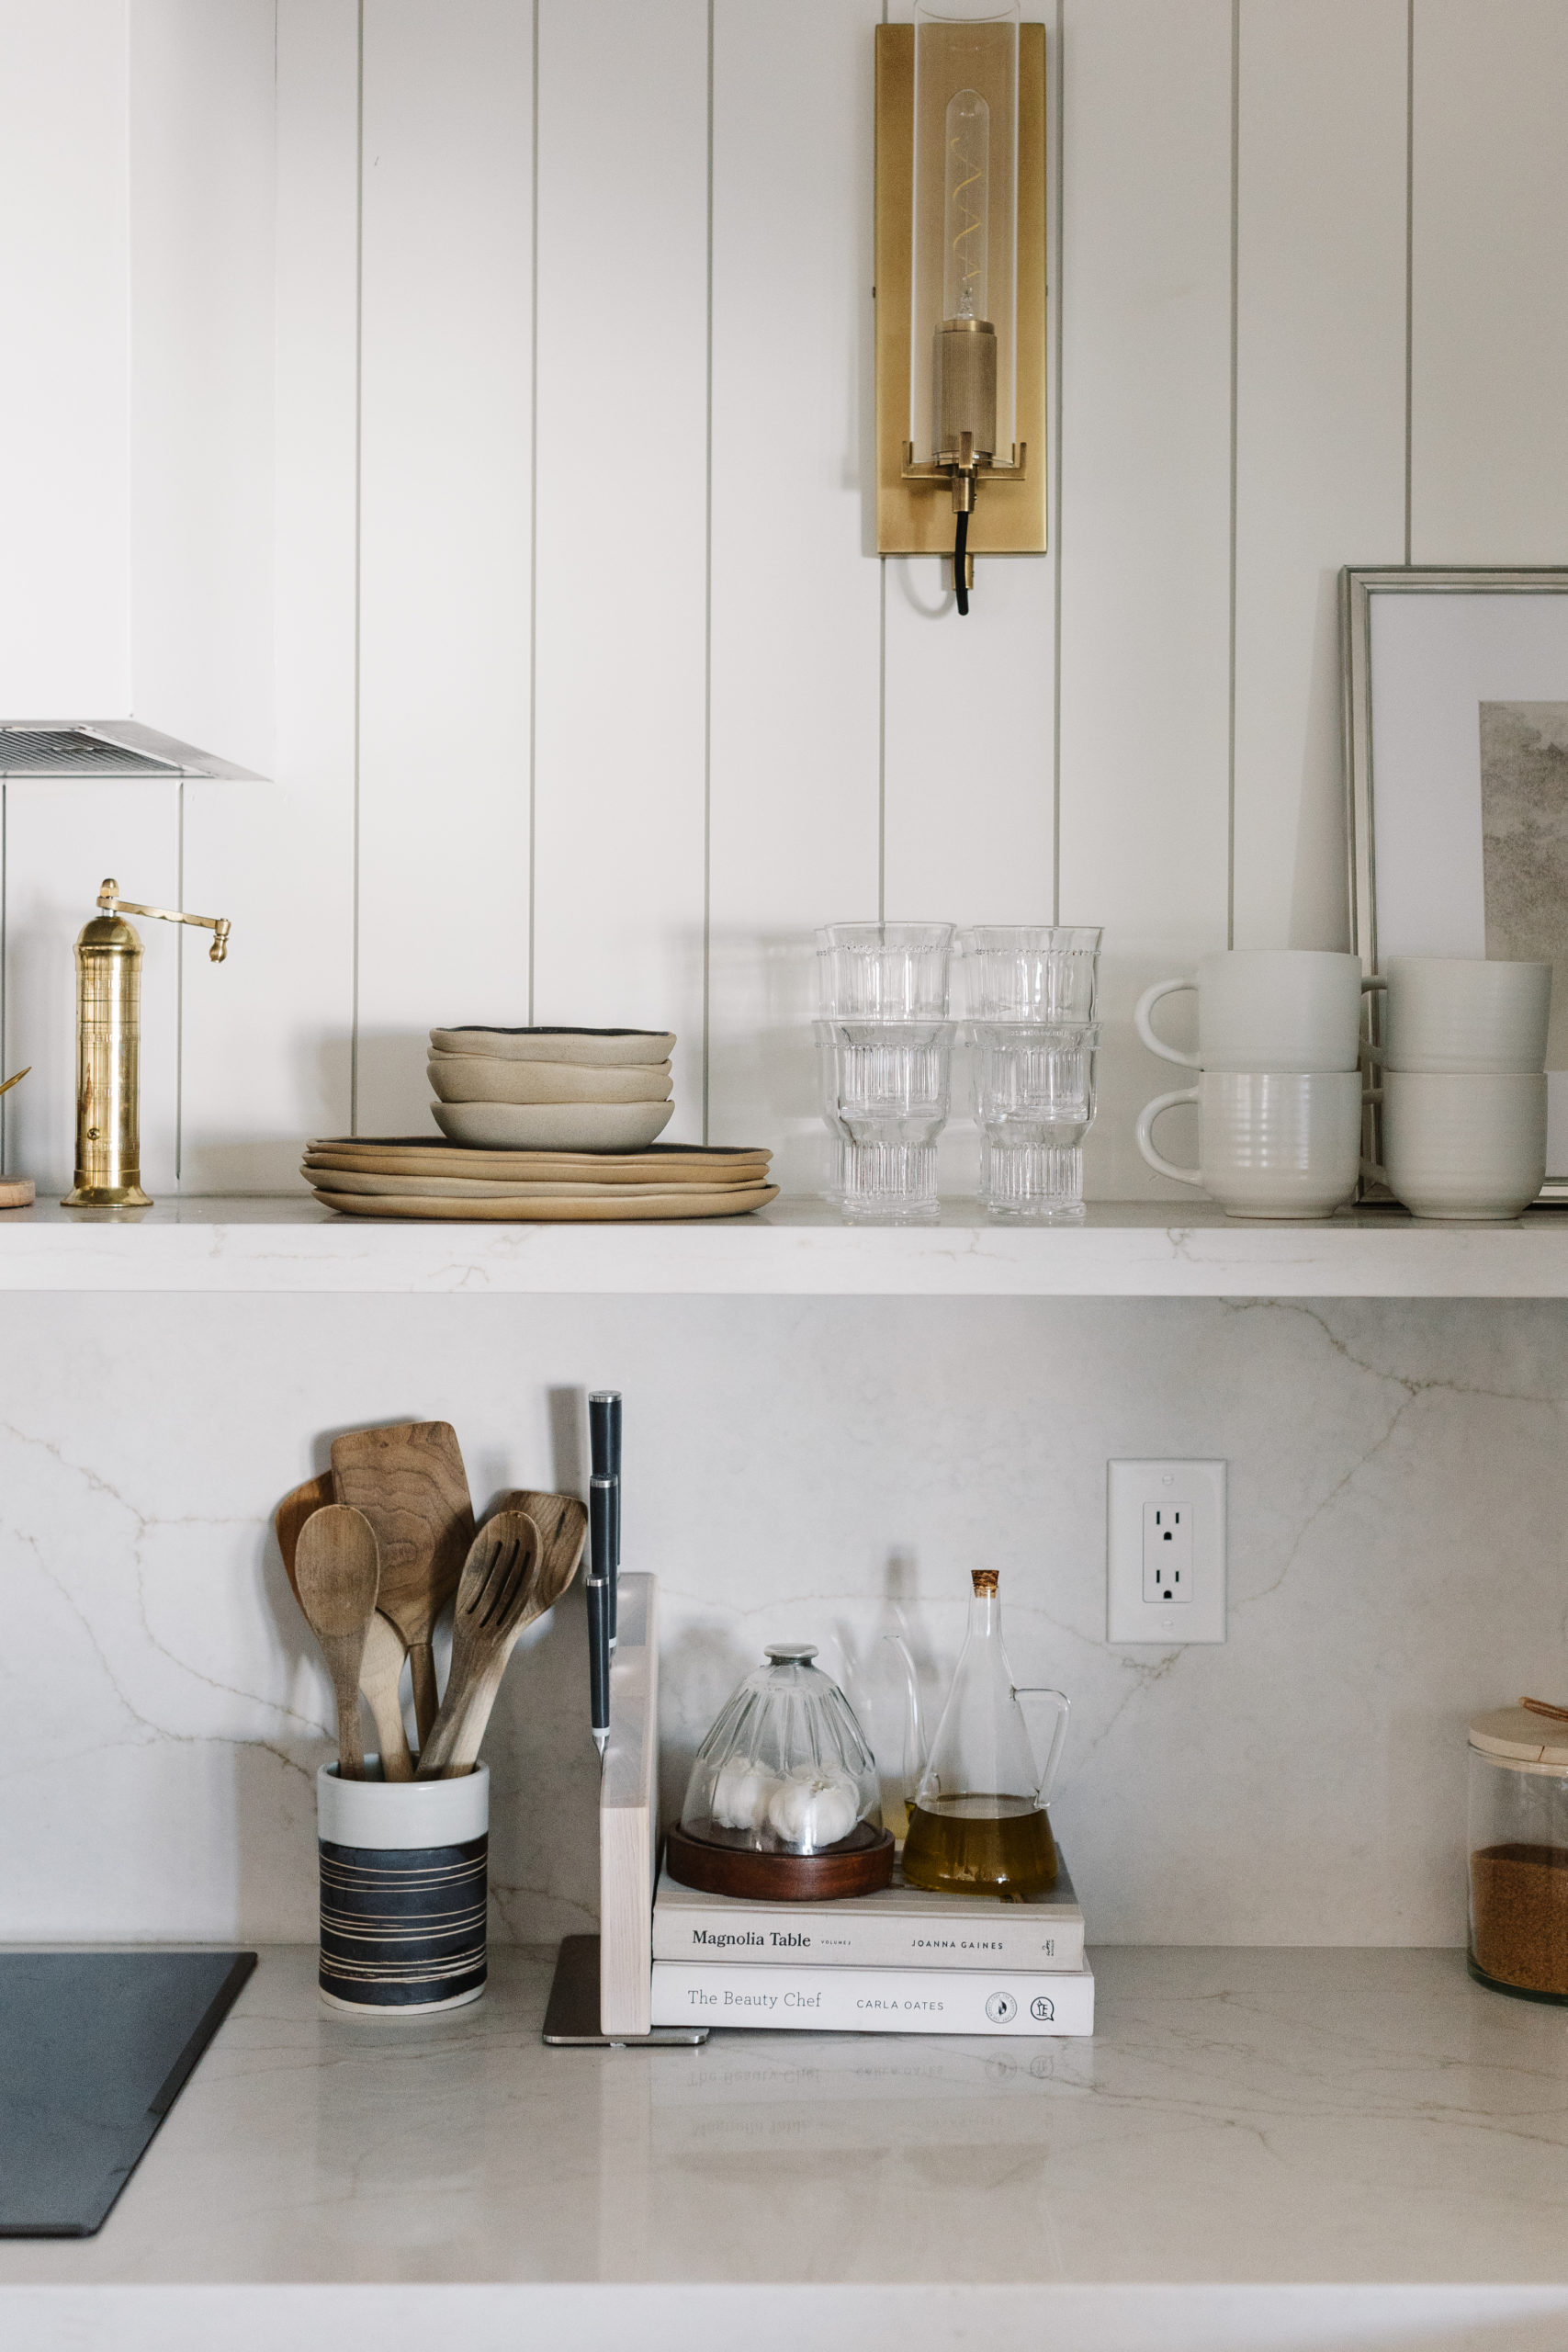
Do you want change up your neutral kitchen? Head to this post to see how we styled this kitchen three different ways!
previous post
next post
Let's be
friends!
Get exclusive design tips and blog updates sent to your inbox!


read comments or leave a comment...